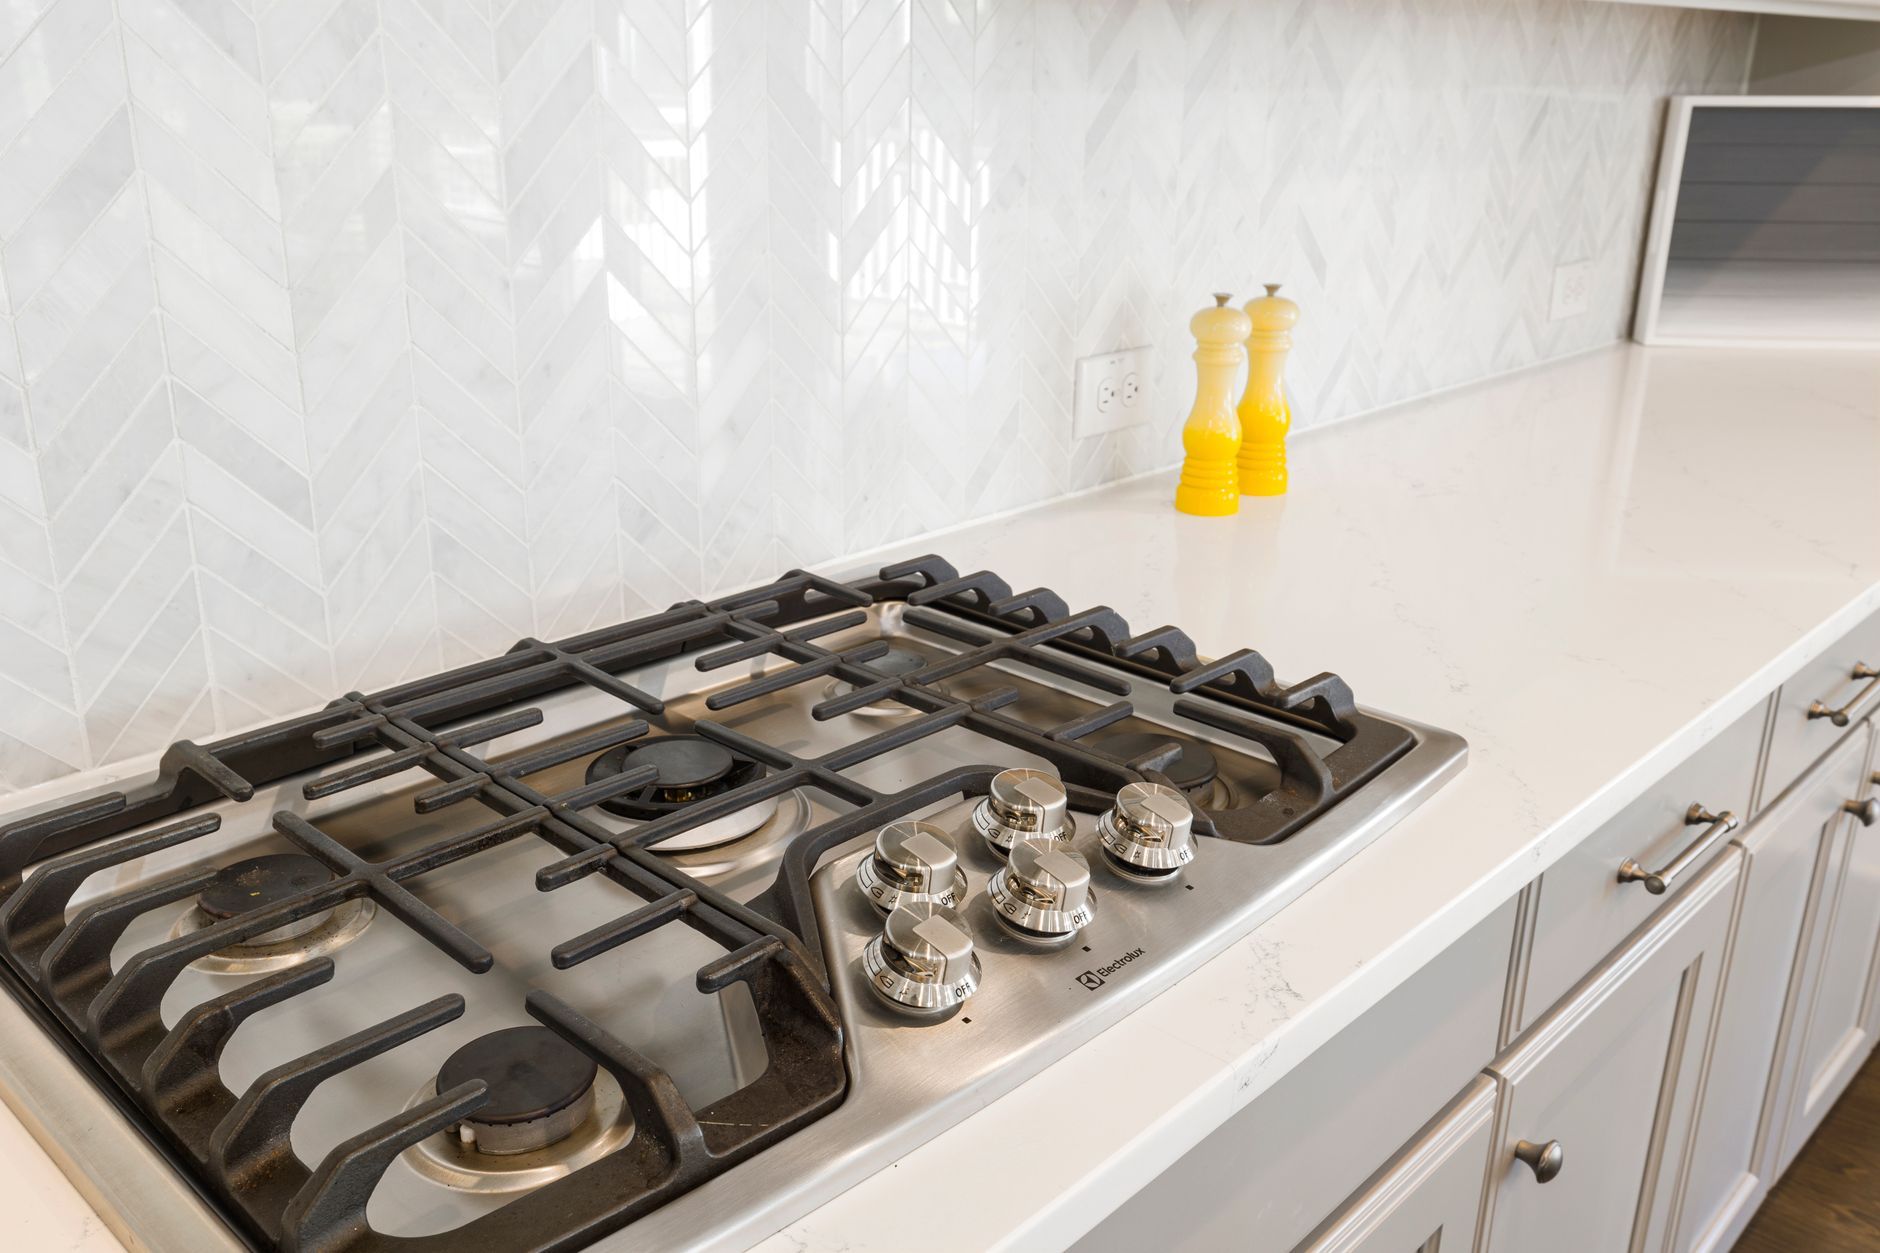
Welcome to our guide to achieving a spotless kitchen! Your gas stove top is the heart of your culinary adventures, but it can quickly become a haven for grease, grime, and stubborn burnt-on food.
This not only detracts from the aesthetic appeal of your kitchen but can also pose hygiene concerns.
Don’t worry, keeping your gas stove top sparkling clean doesn’t have to be a chore.
In this comprehensive guide, we’ll walk you through effective cleaning methods, from everyday spills to deep-seated messes, ensuring your cooking surface is always a joy to behold and safe for meal preparation.
Get ready to transform your kitchen with these easy-to-follow tips!.
Table of Contents
Why Keeping Your Gas Stove Top Clean Matters
A pristine stove top is crucial for food safety and hygiene.
Leftover food particles can harbor bacteria, which can contaminate your meals.
Regular cleaning eliminates these risks, ensuring a healthier cooking environment.
Save this post for later 📩
Not ready to read it all now? Send it to yourself and come back whenever you're ready.
Consistent cleaning prevents grease buildup, which can not only be unsightly but also become a fire hazard.
The longer grease sits, the harder it is to remove, making future cleaning efforts much more strenuous.
The aesthetic appeal of a clean kitchen is undeniable.
A sparkling stove top contributes significantly to an overall polished and inviting atmosphere, making your kitchen a more pleasant space to be in.
Furthermore, burnt-on food can create uneven surfaces on your stove top, potentially affecting cooking performance.
It can lead to uneven heat distribution and can even char food, impacting the taste and quality of your meals.
Understanding Gas Stove Top Components and Their Cleaning Needs
Gas stove tops are comprised of several key components, each with its own cleaning requirements.
These typically include: grates, which hold your cookware; burner caps, which sit atop the burners and distribute the flame; igniters, responsible for sparking the gas; and the cooktop surface itself.
Each of these components requires a specific cleaning approach.
For instance, grates are often made of heavy-duty materials and may require soaking, while igniters are delicate and need to be cleaned with a gentle touch.
Stove tops are commonly constructed from materials like cast iron (often for grates), stainless steel, or enamel.
Cast iron requires care to prevent rust, stainless steel needs polishing to avoid streaks, and enamel can be prone to scratching if abrasive cleaners are used.
Preparation for Cleaning Your Gas Stove Top
The most critical step is safety first.
Always ensure your stove top is completely cool to the touch and that the gas supply is turned off before you begin any cleaning.
This prevents burns and potential gas leaks.
Next, gather your necessary cleaning supplies and tools.
Having everything at hand before you start will make the process smoother and more efficient.
If you’re concerned about splashing or drips, you may want to protect surrounding areas like countertops or backsplashes with old towels or newspaper.
Step-by-Step Instructions
- Ensure the stove top is completely cool to the touch and the gas supply is shut off.
- Remove all grates, burner caps, and any other removable parts from the stove top.
- Gather your cleaning supplies: dish soap, baking soda, white vinegar, microfiber cloths, sponges, old toothbrush or small brush, degreaser (optional), paper towels, and gloves.
Deep Cleaning Removable Parts: Grates and Burner Caps
Grates and burner caps are often the most grease-laden parts of your stove.
For stubborn grease, a great first step is to soak them.
Fill your sink or a large basin with hot, soapy water and let the grates and burner caps sit for at least 30 minutes.
You can enhance the grease-fighting power by adding a dedicated degreaser to the soaking solution.
After soaking, it’s time to scrub! Use a stiff brush or an old toothbrush to get into all the nooks and crannies, effectively removing loosened grime and food particles.
For cast iron grates, be mindful of prolonged soaking, as this can lead to rust.
Ensure they are thoroughly dried immediately after cleaning.
A light coating of cooking oil applied afterward can help protect them from rust and keep them in good condition.
Once scrubbed, rinse all parts thoroughly with clean water to remove any soap or loosened debris.
Finally, dry all parts completely.
You can use a clean towel or allow them to air dry before reassembling.
Ensuring they are bone dry is especially important for cast iron.
Save this post for later 📩
Not ready to read it all now? Send it to yourself and come back whenever you're ready.
Step-by-Step Instructions
- For stubborn grease, soak grates and burner caps in hot, soapy water for at least 30 minutes. You can also add a degreaser to the soaking solution.
- After soaking, use a stiff brush or an old toothbrush to scrub away loosened grime and food particles.
- For cast iron grates, avoid prolonged soaking and ensure they are thoroughly dried immediately after cleaning to prevent rust. A light coating of cooking oil can help protect them.
- Rinse all parts thoroughly with clean water.
- Dry all parts completely with a clean towel or allow them to air dry before reassembling.
Cleaning the Stove Top Surface: Common and Effective Methods
The main stove top surface often bears the brunt of cooking splatters.
Here are several methods for tackling grime, catering to different levels of mess, with a focus on readily available household items.
We’ll explore the power of natural and easily accessible cleaning agents that are effective without being harsh.
Instructions
- Mix a few drops of liquid dish soap with warm water in a bowl.
- Dip a soft sponge or microfiber cloth into the soapy water and wring out excess liquid.
- Gently wipe down the entire stove top surface, focusing on greasy areas.
- For tougher spots, let the soapy water sit for a few minutes before wiping.
- Rinse the cloth frequently or use a second clean, damp cloth to wipe away soap residue.
- Dry the stove top thoroughly with a clean, dry microfiber cloth.
Instructions
- Create a paste by mixing baking soda with a small amount of water until it forms a thick, spreadable consistency.
- Apply the baking soda paste directly to stubborn, burnt-on food or grease stains.
- Let the paste sit for 15-30 minutes (or longer for very tough stains).
- Gently scrub the paste with a non-abrasive sponge or cloth.
- Wipe away the paste with a damp cloth, rinsing the cloth often.
- For areas with delicate finishes, use a soft brush to avoid scratching.
- Wipe down the entire surface with a clean, damp cloth to remove all residue.
- Dry the stove top thoroughly with a clean microfiber cloth.
Instructions
- In a spray bottle, mix equal parts white vinegar and water.
- Lightly spray the stove top surface, avoiding direct spray on igniters.
- Let the solution sit for a few minutes to help break down grease and grime.
- Wipe down the surface with a clean microfiber cloth.
- For an extra shine, you can buff the surface with a dry microfiber cloth after cleaning.
Instructions
- Apply a layer of baking soda paste (as described above) to stubborn stains.
- Spray the white vinegar and water solution over the baking soda paste. It will fizz.
- Allow the fizzing reaction to work for a few minutes.
- Gently scrub the area with a soft sponge or cloth.
- Wipe away all residue with a damp cloth.
- Dry the stove top thoroughly with a clean microfiber cloth.
Cleaning Stove Igniters and Around Burners
The areas around your burners and igniters require a delicate touch.
You want to remove any debris without damaging these sensitive components.
It’s crucial to avoid getting these areas too wet, as moisture can interfere with the ignition system.
Step-by-Step Instructions
- Ensure the stove is cool and gas is off.
- Use a dry toothbrush or cotton swab to gently remove any loose debris or food particles around the igniter and burner base.
- For slightly more stubborn residue, lightly dampen a cotton swab or the corner of a microfiber cloth with the vinegar/water solution or a mild degreaser and carefully wipe the area.
- Avoid spraying liquid directly onto the igniter or into the burner assembly.
- Ensure the area is completely dry before reassembling parts and turning on the gas.
Dealing with Burnt-On Food and Stubborn Stains
For the most persistent messes, don’t despair! Advanced techniques can help you conquer even the toughest burnt-on food.
While specialized cleaners can be effective, always use them with caution and follow product instructions meticulously.
It’s also wise to test them in an inconspicuous area first.
Step-by-Step Instructions
- For heavily burnt-on food, apply the baking soda paste and let it sit for an extended period (even overnight if necessary).
- If a commercial degreaser is used, follow the product’s instructions carefully and ensure good ventilation. Test in an inconspicuous area first.
- Use a plastic scraper or an old credit card to gently lift thick, burnt-on deposits after they have been softened by a cleaning agent.
- Repeat cleaning cycles for very persistent stains.
Save this post for later 📩
Not ready to read it all now? Send it to yourself and come back whenever you're ready.
Maintaining a Clean Stove Top: Preventative Measures
The best defense against tough cleaning is prevention.
Implementing simple habits can significantly reduce the amount of buildup you encounter.
These simple habits will help keep your stove top looking its best with minimal effort.
Step-by-Step Instructions
- Wipe up spills immediately as they happen to prevent them from hardening.
- Use splatter guards when cooking to minimize grease splatter.
- Regularly clean burner grates and caps to prevent heavy buildup.
- Perform a quick wipe-down of the stove top after each cooking session.
- Consider using stove top liners or mats (ensure they are heat-resistant and suitable for your stove type) for easier cleanup, especially for busy cooks.
When to Call a Professional
While most stove top cleaning can be handled at home, there are times when it’s best to seek professional cleaning services.
This can be particularly beneficial for those with very busy schedules or who find deep cleaning challenging.
Reasons to consider professional help include complex stove designs, intricate burner assemblies, or situations where the stove has been severely neglected, leading to extensive and difficult-to-remove grime.
Conclusion
We’ve explored the myriad benefits of a clean gas stove top, from enhanced hygiene and safety to improved cooking performance and undeniable aesthetic appeal.
By implementing the key takeaway points from this guide – regular maintenance, appropriate cleaning methods for different components, and preventative measures – you can confidently tackle any mess and achieve that coveted sparkling kitchen.
Don’t let grease and grime get you down!.
We encourage you to put these strategies into practice and enjoy a kitchen that not only looks fantastic but also functions at its best.
Happy cleaning, and enjoy the sparkling results!.