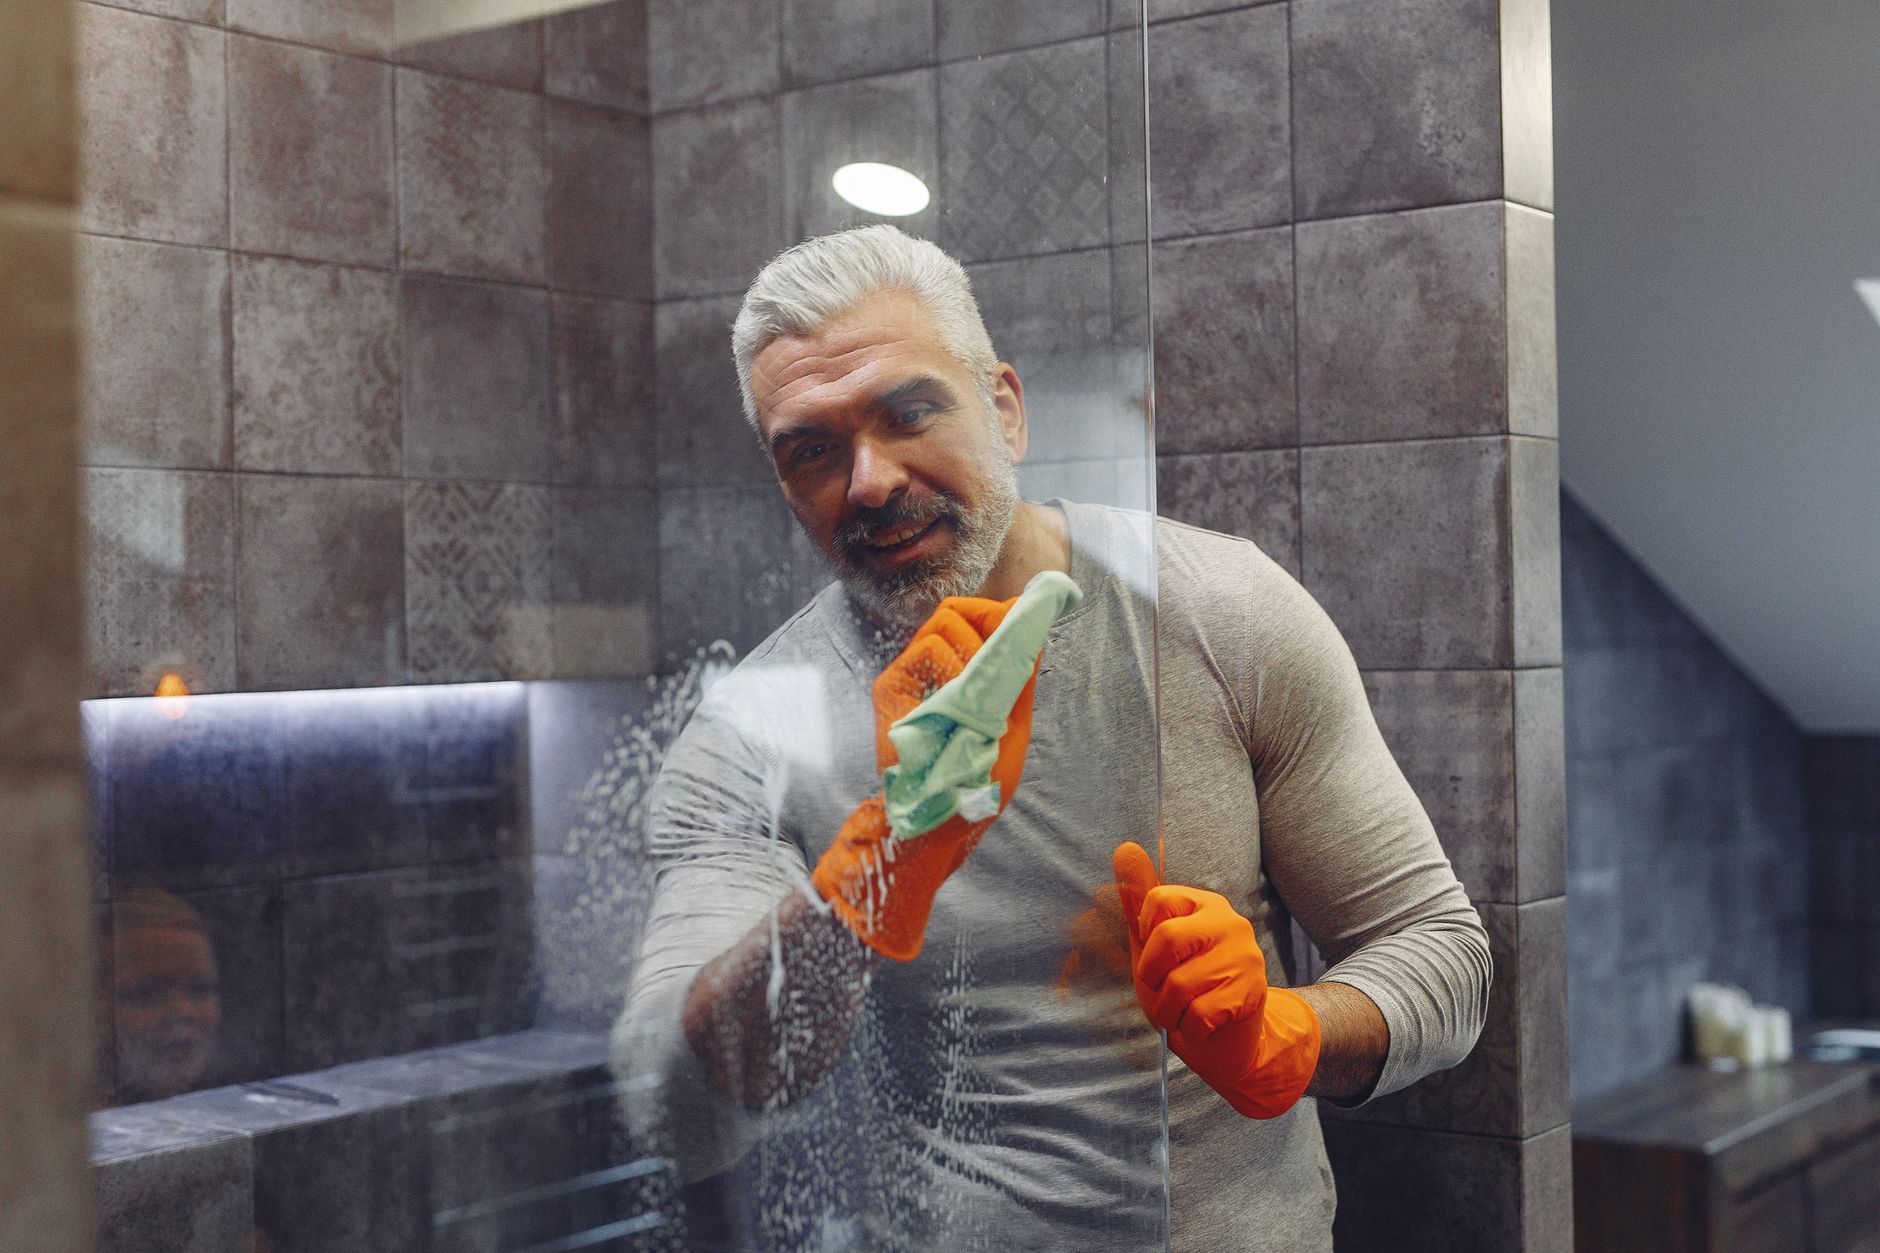
The bathroom.
It’s a space for rejuvenation, a sanctuary in our homes.
Yet, it’s also a battleground against the relentless forces of moisture and daily use.
Soap scum clings stubbornly, mildew blooms in damp corners, hard water leaves its chalky mark, and grout, the unsung hero of tile integrity, loses its pristine color.
Keeping your bathroom tiles sparkling clean is not just about aesthetics; it’s crucial for hygiene and creating a truly refreshing environment.
The good news is, a pristine bathroom is within reach! From simple DIY concoctions using common pantry staples to powerful commercial solutions, we’ll explore every facet of bathroom tile cleaning.
This comprehensive guide will equip you with the knowledge and tools to tackle any tile-related grime, ensuring your bathroom gleams with cleanliness and hygiene.
Table of Contents
Understanding Bathroom Tile Stains
Bathroom tiles are subjected to a unique set of environmental challenges, leading to various types of stains that can diminish their shine and harbor germs.
The most common culprits include soap scum, a greasy residue formed from the reaction of soap with minerals in the water.
Save this post for later 📩
Not ready to read it all now? Send it to yourself and come back whenever you're ready.
It often appears as a cloudy or chalky film.
Mildew and mold thrive in the warm, humid environment of bathrooms, appearing as black, green, or pinkish spots, particularly in grout lines and around fixtures.
Hard water deposits, also known as limescale, are caused by high mineral content in your water, leaving behind white or rusty-looking rings and spots.
Grout discoloration is another common issue, where the porous grout between tiles absorbs dirt, soap residue, and moisture, turning dingy and dark.
Finally, general grime from everyday use, like dust, hair, and toothpaste splatters, can accumulate, making tiles look dull and unhygienic.
Each of these stains forms through a specific process.
Soap scum is a chemical reaction.
Mildew and mold are living organisms that feed on moisture and organic matter.
Hard water deposits are mineral precipitation.
Grout discoloration is a result of porosity and absorption.
Understanding these origins is the first step in effectively tackling them and restoring your bathroom tiles to their former glory.
DIY Bathroom Tile Cleaning Solutions
Before you reach for a harsh chemical cleaner, consider the power of your pantry! Many everyday household items can be transformed into highly effective, eco-friendly, and budget-friendly tile cleaners.
These DIY solutions not only tackle stubborn stains but also reduce your exposure to potentially harmful chemicals, making them a safer choice for your family and the environment.
The benefits of embracing DIY cleaning are numerous.
They are incredibly cost-effective, saving you money on expensive commercial products.
You gain control over the ingredients, opting for fewer chemicals and more natural alternatives.
Plus, the ingredients are typically readily available in most homes, meaning you can often start cleaning immediately without a trip to the store.
Step-by-Step Instructions
- Vinegar-Based Cleaner: Mix equal parts distilled white vinegar and warm water in a spray bottle. This solution is effective against soap scum and hard water stains due to vinegar’s acidic properties. Spray generously, let it sit for 10-15 minutes, then scrub and rinse.
- Baking Soda Paste: Combine baking soda with a small amount of water to create a paste. This abrasive paste is excellent for scrubbing grout and tougher stains. Apply the paste, let it sit for a few minutes, then scrub with a brush and wipe clean.
- Dish Soap and Water: A simple mixture of liquid dish soap and warm water can tackle everyday grime and light soap scum. This is a great go-to for daily or weekly touch-ups.
- Hydrogen Peroxide and Baking Soda: For mildew and grout cleaning, a paste made from hydrogen peroxide and baking soda can be a powerful combination. Apply to stained areas, let it bubble and work its magic for about 15-20 minutes, then scrub and rinse.
- Lemon Juice and Salt: The acidity of lemon juice combined with the abrasive nature of salt can be used for spot cleaning and brightening tiles. Mix and apply to stains, let sit briefly, then scrub gently and rinse.
Using Commercial Bathroom Tile Cleaners
While DIY solutions are fantastic, sometimes the stains in your bathroom demand a more specialized approach.
Commercial bathroom tile cleaners offer a wide array of formulations designed to target specific problems with potent effectiveness.
These products can be particularly helpful for tackling heavy mildew, deep-set grout stains, or extensive hard water buildup that DIY methods might struggle with.
However, with powerful solutions comes the responsibility of using them correctly.
It is crucial to read product labels carefully.
Pay close attention to instructions for application, dwell time, and rinsing.
Always note any safety precautions, such as recommended ventilation or the need for gloves and eye protection.
Furthermore, verify the cleaner’s suitability for different tile types.
A cleaner safe for ceramic might damage natural stone, so always check.
Commercial cleaners can be broadly categorized by their primary function: everyday cleaners for general maintenance, heavy-duty cleaners for tough grime, grout cleaners specifically designed to lift stains from grout lines, and mildew removers formulated to kill and remove mold and mildew spores.
Step-by-Step Instructions
- Choose a commercial cleaner appropriate for the specific tile type and stain you are dealing with. If unsure, opt for a general-purpose bathroom cleaner.
- Always test the cleaner on an inconspicuous area of the tile before applying it to the entire surface to ensure it doesn’t cause discoloration or damage.
- Ensure adequate ventilation in the bathroom when using commercial cleaners, especially those with strong fumes. Open windows and turn on the exhaust fan.
- Follow the manufacturer’s instructions for application, dwell time (how long to let it sit), and rinsing. Skipping steps or leaving cleaners on too long can cause damage.
- Wear protective gloves and eye protection as recommended on the product label. This is essential for your safety.
Deep Cleaning Bathroom Grout
Grout, the material that fills the spaces between your tiles, is often the most challenging part of bathroom tile cleaning.
Its porous nature makes it a magnet for dirt, soap scum, and moisture, leading to stubborn discoloration and the perfect breeding ground for mold and mildew.
Regular cleaning of tiles often misses the grout, allowing these issues to become deeply entrenched.
Save this post for later 📩
Not ready to read it all now? Send it to yourself and come back whenever you're ready.
Specialized methods and tools are often required for effective grout cleaning.
A stiff-bristled grout brush or even an old toothbrush can be invaluable for scrubbing grout lines.
For tougher stains, dedicated grout cleaning products are available that are formulated to penetrate and lift grime.
Once your grout is clean, sealing it is a vital step to prevent future staining and moisture absorption, making subsequent cleaning much easier.
Step-by-Step Instructions
- Apply a paste of baking soda and water or a dedicated grout cleaner directly to the grout lines. Ensure the grout is well-saturated.
- Use a stiff-bristled grout brush or an old toothbrush to scrub the grout vigorously. Work in small sections.
- Allow the cleaner to sit for a few minutes to penetrate the stains, especially for tougher grime. Refer to product instructions for specific dwell times.
- Wipe away the cleaner and loosened grime with a damp cloth or sponge. Rinse the cloth frequently.
- Rinse the area thoroughly with clean water to remove any residual cleaner and lifted dirt.
- For stubborn stains, repeat the process or consider using a steam cleaner on grout, which can effectively blast away embedded dirt and kill mold spores.
Preventative Maintenance for Clean Bathroom Tiles
The best offense is a good defense, and this holds true for bathroom tile cleanliness.
Implementing a few simple preventative habits can significantly reduce the amount of deep cleaning required and keep your tiles looking their best for longer.
Focus on regular cleaning habits and paying attention to environmental factors within your bathroom.
One of the most critical factors is ventilation.
Proper airflow helps to dry out the bathroom quickly after use, which is paramount in preventing the growth of mold and mildew.
Small, consistent efforts can make a huge difference in maintaining a sparkling bathroom.
Step-by-Step Instructions
- Wipe down shower walls and tile surfaces after each use to remove excess water and soap residue. A quick squeegee or a microfiber cloth does wonders.
- Ensure good ventilation by using exhaust fans during and after showers/baths, or by opening windows to allow fresh air circulation.
- Clean tiles and grout regularly (e.g., weekly) to prevent the buildup of soap scum, mildew, and hard water stains. This prevents them from becoming deeply ingrained.
- Address spills and stains immediately as they occur. The longer a stain sits, the harder it is to remove.
- Consider using a squeegee on shower doors and walls to reduce water spots and the moisture that fuels mold growth.
- Apply a grout sealer periodically (usually every 6-12 months, depending on the product and usage) to protect against staining and moisture absorption.
Cleaning Different Types of Bathroom Tiles
Not all tiles are created equal, and using the wrong cleaning product or method can lead to irreparable damage.
Understanding the material of your bathroom tiles is crucial for selecting the right cleaning approach.
Ceramic and porcelain tiles are generally very durable and can withstand most common cleaning agents, including mildly acidic solutions and gentle scrubbing.
Natural stone tiles, such as marble, granite, and travertine, are more delicate.
They require pH-neutral cleaners and should avoid acidic cleaners like vinegar or harsh scrubbing, which can etch the surface and dull the finish.
Always check if your natural stone needs to be sealed.
Glass tiles are susceptible to scratches, so opt for non-abrasive cleaners and soft cloths.
Enamel tiles can also be sensitive to abrasives, so milder detergents and soft cloths are recommended.
Always err on the side of caution when cleaning less common or more delicate tile materials.
When in doubt, consult the tile manufacturer or a professional.
Step-by-Step Instructions
Save this post for later 📩
Not ready to read it all now? Send it to yourself and come back whenever you're ready.
- Ceramic and Porcelain Tiles: Generally durable and can withstand most common cleaning agents and mild scrubbing. A vinegar and water solution or a general bathroom cleaner works well.
- Natural Stone Tiles: Require pH-neutral cleaners. Avoid acidic cleaners like vinegar or harsh scrubbing, which can etch the surface and dull the finish. Always seal natural stone tiles regularly.
- Glass Tiles: Use non-abrasive cleaners and microfiber cloths to avoid scratches. A solution of vinegar and water can work well, but rinse thoroughly and dry with a soft cloth to prevent water spots.
- Enamel Tiles: Can be sensitive to abrasives. Opt for mild detergents and soft cloths. Avoid strong chemicals that could damage the finish.
When to Call a Professional
While most bathroom tile cleaning can be handled with DIY or commercial products, there are situations where it’s best to call in the experts.
Trying to tackle these issues yourself can sometimes worsen the problem or even damage your tiles and grout.
Consider calling a professional if you’re dealing with extensive mold or mildew issues that cover a large area or seem deeply embedded.
If your grout is severely damaged, cracked, or crumbling, a professional can assess and repair it.
For very delicate and expensive tile installations, such as antique tiles or intricate natural stone mosaics, professional cleaning ensures they are handled with the utmost care and appropriate products to prevent damage.
Conclusion
Maintaining sparkling clean bathroom tiles is an achievable goal with the right knowledge and approach.
We’ve explored the common challenges, from soap scum to mildew, and equipped you with a range of solutions, from effective DIY concoctions to targeted commercial cleaners.
Remember the importance of understanding your tile type and using appropriate methods for ceramic, porcelain, natural stone, and glass.
Prioritizing preventative maintenance through regular cleaning and proper ventilation will save you time and effort in the long run.
By implementing the strategies discussed in this guide, you can transform your bathroom into a hygienic and aesthetically pleasing space.
Embrace the satisfaction that comes from a truly clean bathroom – a sanctuary that invites relaxation and rejuvenation.
A sparkling clean bathroom is more than just a visual delight; it’s a testament to good hygiene and a well-maintained home.
Enjoy the glow!.