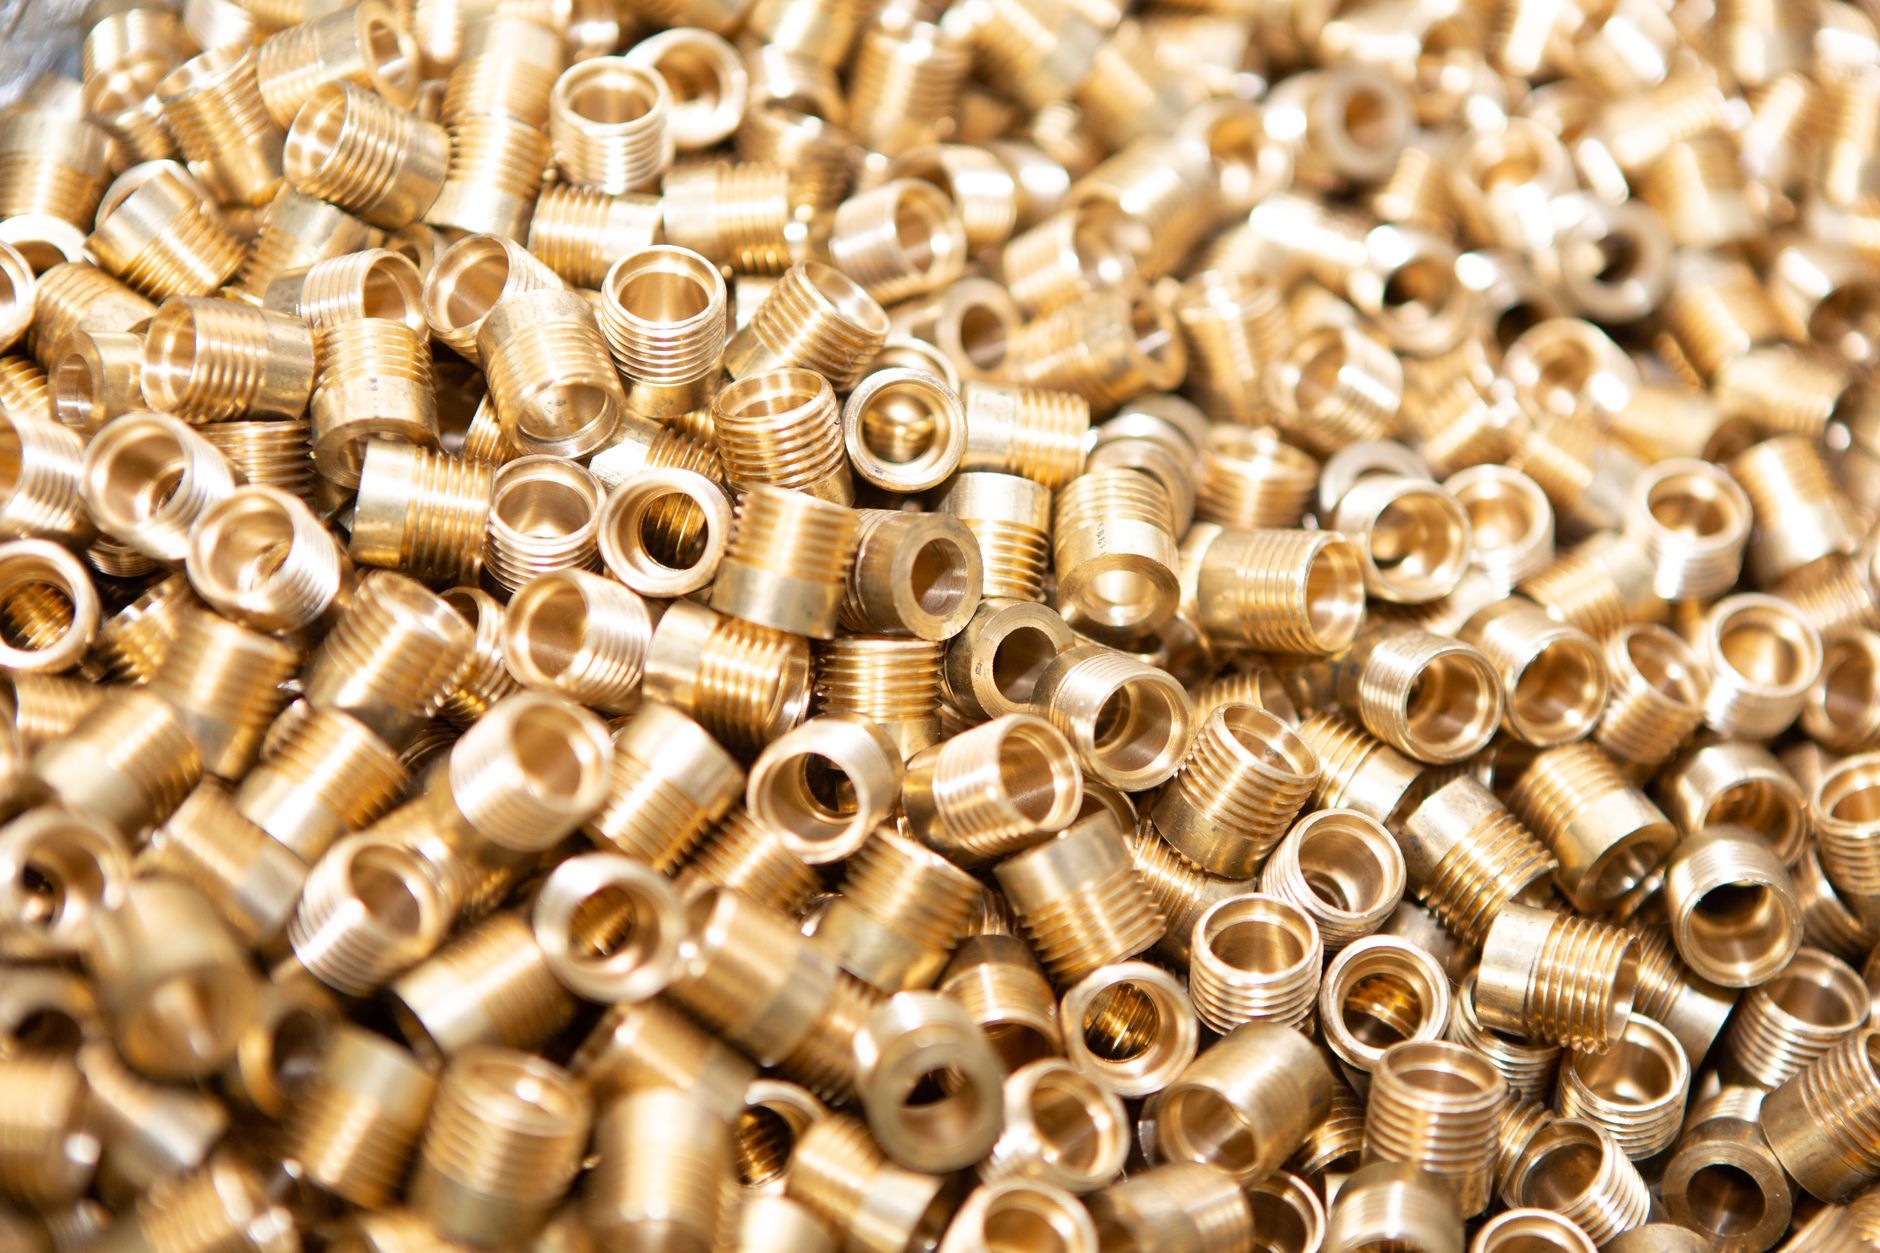
Brass, with its warm, golden hue, is a beloved material that graces many homes, from antique doorknobs and intricate candlesticks to decorative bowls and musical instruments.
Its aesthetic appeal, however, can be dulled by the inevitable march of time and exposure.
Tarnish, that unsightly film of discoloration, can creep in, diminishing the luster of your cherished brass pieces.
Fortunately, achieving that brilliant, mirror-like shine doesn’t require a trip to the store for expensive commercial cleaners.
Many effective and gentle brass cleaners can be whipped up right in your own kitchen using common household ingredients.
These homemade solutions are not only cost-effective but also natural, customizable, and far gentler on both your belongings and the environment.
Let’s dive into the world of DIY brass cleaning and discover how to bring back the gleam to your brass treasures.
Table of Contents
Understanding Brass Tarnish and Why it Happens
Brass is an alloy primarily composed of copper and zinc.
Like copper, it is susceptible to a process known as oxidation.
When brass is exposed to the air, moisture, and certain chemical compounds (like those found in fingerprints or household cleaners), a chemical reaction occurs.
This reaction forms a layer of tarnish on the surface of the metal.
Tarnished brass typically appears dull, losing its characteristic golden sheen.
Save this post for later 📩
Not ready to read it all now? Send it to yourself and come back whenever you're ready.
You might notice discoloration, ranging from a light brown to a deeper brown, and sometimes even developing green or black patches.
These patches are often a sign of more advanced oxidation.
Brass comes in various finishes, from polished and lacquered to antique and brushed.
While tarnish affects all finishes, its appearance can vary.
On polished brass, it’s a dulling of the shine.
On lacquered brass, tarnish might appear beneath the lacquer if it has been compromised, or the lacquer itself might degrade, causing discoloration.
The good news about tarnish is that it’s usually a surface issue.
For most brass items, this discoloration can be safely and effectively removed without causing permanent damage to the underlying metal.
With the right approach, you can reveal the beautiful brass hidden beneath the tarnish.
Essential Materials for Homemade Brass Cleaners
The beauty of homemade brass cleaners lies in their simplicity and the readily available ingredients.
Key components often include acidic elements like white vinegar or lemon juice, which help to dissolve tarnish.
Mild abrasives such as salt or baking soda are excellent for gently scrubbing away the oxidized layer.
An emulsifier like a drop of dish soap can help lift grease and dirt.
For some recipes, flour acts as a binder and a gentle polishing agent.
When cleaning brass, the tools you use are just as important as the cleaning agents.
Always opt for soft cloths.
Microfiber cloths are ideal as they are highly absorbent and non-abrasive, perfect for both applying the cleaner and buffing the brass to a shine.
Clean cotton cloths or old, soft t-shirts also work well.
Avoid using paper towels, as they can be surprisingly abrasive and may leave lint behind.
Other helpful tools include small bowls for mixing your cleaning concoctions, old toothbrushes (soft-bristled, of course) for reaching into intricate details and crevices of ornate brass items, and, of course, water for rinsing away the cleaning solutions and any loosened tarnish.
The Classic Ketchup or Tomato Paste Method
This is perhaps one of the most surprisingly effective and widely used homemade brass cleaning methods.
The magic lies in the mild acidity of tomatoes.
The natural acids in ketchup and tomato paste, primarily citric and malic acids, work by gently breaking down the copper oxides that form tarnish.
This method is fantastic for general cleaning of brass items that have a light to moderate amount of tarnish.
It’s particularly good for decorative pieces, drawer pulls, or even musical instruments where you want a gentle yet effective clean.
The reason this works so well is that the acidity is just strong enough to lift the tarnish but not so harsh that it will damage the brass itself.
It’s a gentle approach that relies on natural ingredients for a satisfying clean.
Step-by-Step Instructions
- Apply a thin layer of ketchup or tomato paste to the tarnished brass surface. Ensure all tarnished areas are covered.
- Let it sit for 5-10 minutes. For more stubborn tarnish, you might leave it for up to 15 minutes.
- Gently rub the brass with a soft cloth in a circular motion. You should start to see the tarnish lifting.
- Rinse the brass thoroughly with warm water to remove all traces of ketchup or tomato paste.
- Dry completely with a clean, soft cloth and buff to a shine. Repeat if necessary for a deeper clean.
The Vinegar and Salt Paste for Stubborn Tarnish
When tarnish has really set in, and your brass is looking significantly dulled or discolored, the combination of white vinegar and salt is your go-to.
The acetic acid in vinegar is a powerful cleaner, while the salt acts as a mild abrasive, providing the necessary grit to scrub away tougher oxidation.
This method is more potent than the ketchup trick, so it’s important to use it with care.
It’s ideal for brass items that have seen better days and require a more vigorous cleaning approach.
This potent paste is perfectly suited for tackling more significant discoloration, green verdigris, or deep-set tarnish that requires a bit more muscle to remove.
Step-by-Step Instructions
- In a small bowl, mix equal parts white vinegar and salt. Stir until you form a thick, spreadable paste. Add a tiny bit more salt or vinegar if needed to achieve the right consistency.
- Apply the paste generously to the tarnished brass, focusing on the heavily discolored areas. Use a soft cloth or an old toothbrush for application.
- Allow the paste to sit on the brass for 5-15 minutes, depending on how stubborn the tarnish is.
- Gently scrub the brass with a soft cloth or an old toothbrush. Work in a circular motion or follow the grain of the brass if visible.
- Rinse the brass thoroughly with water to ensure all the paste is removed.
- Dry the brass completely with a clean, soft cloth and buff to a brilliant shine. You may need to repeat for very heavily tarnished areas.
Lemon Juice and Baking Soda for a Gentle Scrub
This duo offers a fantastic balance of cleaning power and gentle exfoliation.
Lemon juice, with its natural acidity, cuts through tarnish, while baking soda provides a fine, non-scratching abrasive.
Together, they create a paste that effectively lifts grime and polishes the brass.
This is an excellent option for brass items that need a thorough yet gentle clean.
It’s perfect for regular maintenance or for pieces with intricate details where you want to avoid harsh scrubbing.
The slight fizziness that occurs when lemon juice and baking soda are combined can actually help to lift away loosened grime and tarnish, making the cleaning process more efficient.
Step-by-Step Instructions
- Squeeze fresh lemon juice into a small bowl. You’ll need enough to create a paste with the baking soda.
- Gradually add baking soda to the lemon juice, stirring as you go, until you achieve a thick, paste-like consistency.
- Apply the paste to the brass item using a soft cloth or your fingers.
- Let the paste sit on the brass for 5-10 minutes, allowing the ingredients to work on the tarnish.
- Rub gently with a soft cloth. The baking soda will provide a mild scrubbing action.
- Rinse the brass with warm water, ensuring all paste residue is removed.
- Dry thoroughly with a clean cloth and polish to a shine.
Save this post for later 📩
Not ready to read it all now? Send it to yourself and come back whenever you're ready.
The Flour and Ammonia Solution for Deep Cleaning
For those truly neglected brass pieces that seem beyond hope, the flour and ammonia solution offers a powerful cleaning option.
Ammonia is a strong cleaner and degreaser, capable of tackling heavy grime and deep-set tarnish.
This method is best reserved for heavily tarnished or neglected brass.
It is crucial to exercise caution when using ammonia.
Always ensure you are in a well-ventilated area (open windows or work outdoors) as ammonia fumes can be irritating.
Avoid mixing ammonia with bleach, as this creates toxic gases.
The flour in this recipe acts as a binder, helping to create a usable paste, and also contributes as a mild abrasive to aid in the removal of loosened tarnish.
Step-by-Step Instructions
- In a small bowl, mix 1 tablespoon of flour with enough clear household ammonia to create a smooth, thick paste. Add ammonia very slowly to avoid making it too watery.
- Ensure you have good ventilation in the area where you are working. You may want to wear gloves.
- Apply the paste to the tarnished brass surface with a soft cloth.
- Let the paste sit on the brass for 10-15 minutes to allow the ammonia to work on the tarnish.
- Wipe off the dried paste with a damp cloth. You should see a significant reduction in tarnish.
- Rinse the brass thoroughly with plenty of water to remove all ammonia residue.
- Dry the brass completely with a soft cloth and buff to a brilliant shine.
Polishing Brass to a Brilliant Shine
Cleaning is only half the battle; the real magic happens during the polishing stage.
Proper buffing after cleaning is essential to restore that lustrous gleam that makes brass so appealing.
For the best results, use a clean, dry microfiber cloth.
These cloths are designed to pick up residual moisture and dirt while leaving a streak-free, high-shine finish.
Avoid any cloths that might leave lint behind.
Don’t underestimate the power of a little elbow grease.
Consistent and firm rubbing in a uniform direction will help you achieve that sought-after, high shine and bring out the full beauty of your cleaned brass.
Step-by-Step Instructions
- After you have thoroughly cleaned and dried your brass item, take a fresh, clean, and dry microfiber cloth.
- Begin rubbing the brass surface in a consistent direction. If your brass has a visible grain, try to follow it. This helps to create a uniform shine.
- Continue buffing with firm pressure until you achieve the desired level of shine. You may need to switch to a clean section of the cloth or use a second cloth if the first becomes soiled.
Protecting Your Newly Cleaned Brass
Once you’ve put in the effort to restore your brass to its former glory, you’ll want to maintain that shine and prevent future tarnishing for as long as possible.
Regular care is key.
For long-term protection, especially for items that are frequently handled or exposed to the elements, you can consider applying a thin coat of beeswax or a specialized brass lacquer.
These act as a barrier against oxidation.
Always ensure the brass is completely clean and dry before applying any protective coating.
Simple, consistent care also makes a big difference.
Regular dusting prevents the accumulation of dirt and grime that can contribute to tarnish.
Immediately wiping up spills of liquids or food also prevents them from reacting with the brass surface.
Be mindful of environmental factors.
High humidity is a primary enemy of brass, accelerating tarnishing.
Similarly, exposure to certain chemicals (like those in some household cleaners or even the oils from your skin) can speed up the oxidation process.
Minimizing exposure to these factors will help keep your brass looking beautiful for longer.
Important Precautions and When to Avoid DIY
Before applying any new homemade cleaning solution to your entire brass item, it’s imperative to test it on an inconspicuous area first.
This could be the underside of a decorative piece or a small, hidden spot.
This small step can save you from potential discoloration or damage.
Never use harsh abrasive cleaners or scouring pads on brass.
Save this post for later 📩
Not ready to read it all now? Send it to yourself and come back whenever you're ready.
These can easily scratch the surface, leaving permanent marks that no amount of polishing can fix.
Stick to soft cloths and gentle scrubbing actions.
Be cautious with lacquered or plated brass.
These finishes have a protective coating.
Using DIY cleaners, especially acidic ones, on these surfaces can damage or strip away the lacquer or plating, ruining the finish.
Always confirm the type of brass and its finish before proceeding.
If in doubt, avoid DIY methods.
For antique or particularly valuable brass items, it’s always best to err on the side of caution.
If you are unsure about the best cleaning method or are concerned about causing damage, consult a professional antique restorer or conservator.
They have the expertise to identify materials and apply the safest cleaning techniques.
As mentioned earlier, ventilation is crucial, especially when using ingredients like vinegar or ammonia.
Ensure the area you are working in is well-aired to avoid inhaling fumes.
Wear gloves to protect your skin from the cleaning agents.
Conclusion
Restoring the gleam to your brass items doesn’t have to be a chore or an expensive endeavor.
As we’ve explored, the effectiveness and accessibility of homemade brass cleaners are truly remarkable.
From the simple elegance of ketchup to the potent power of vinegar and salt, these recipes utilize readily available, natural ingredients to bring your brass back to life.
There’s a unique satisfaction in restoring the beauty of brass items using simple, home-based solutions.
You’re not only saving money but also choosing a more natural and often gentler approach to cleaning.
We encourage you to try these methods and experience the joy of seeing your brass artifacts shine anew.
Rediscover the warmth and elegance of your brass collection with these easy-to-follow DIY tips.
Do you have a favorite homemade brass cleaning trick or a success story to share? We’d love to hear from you! Leave a comment below with your own tips or experiences with cleaning brass.