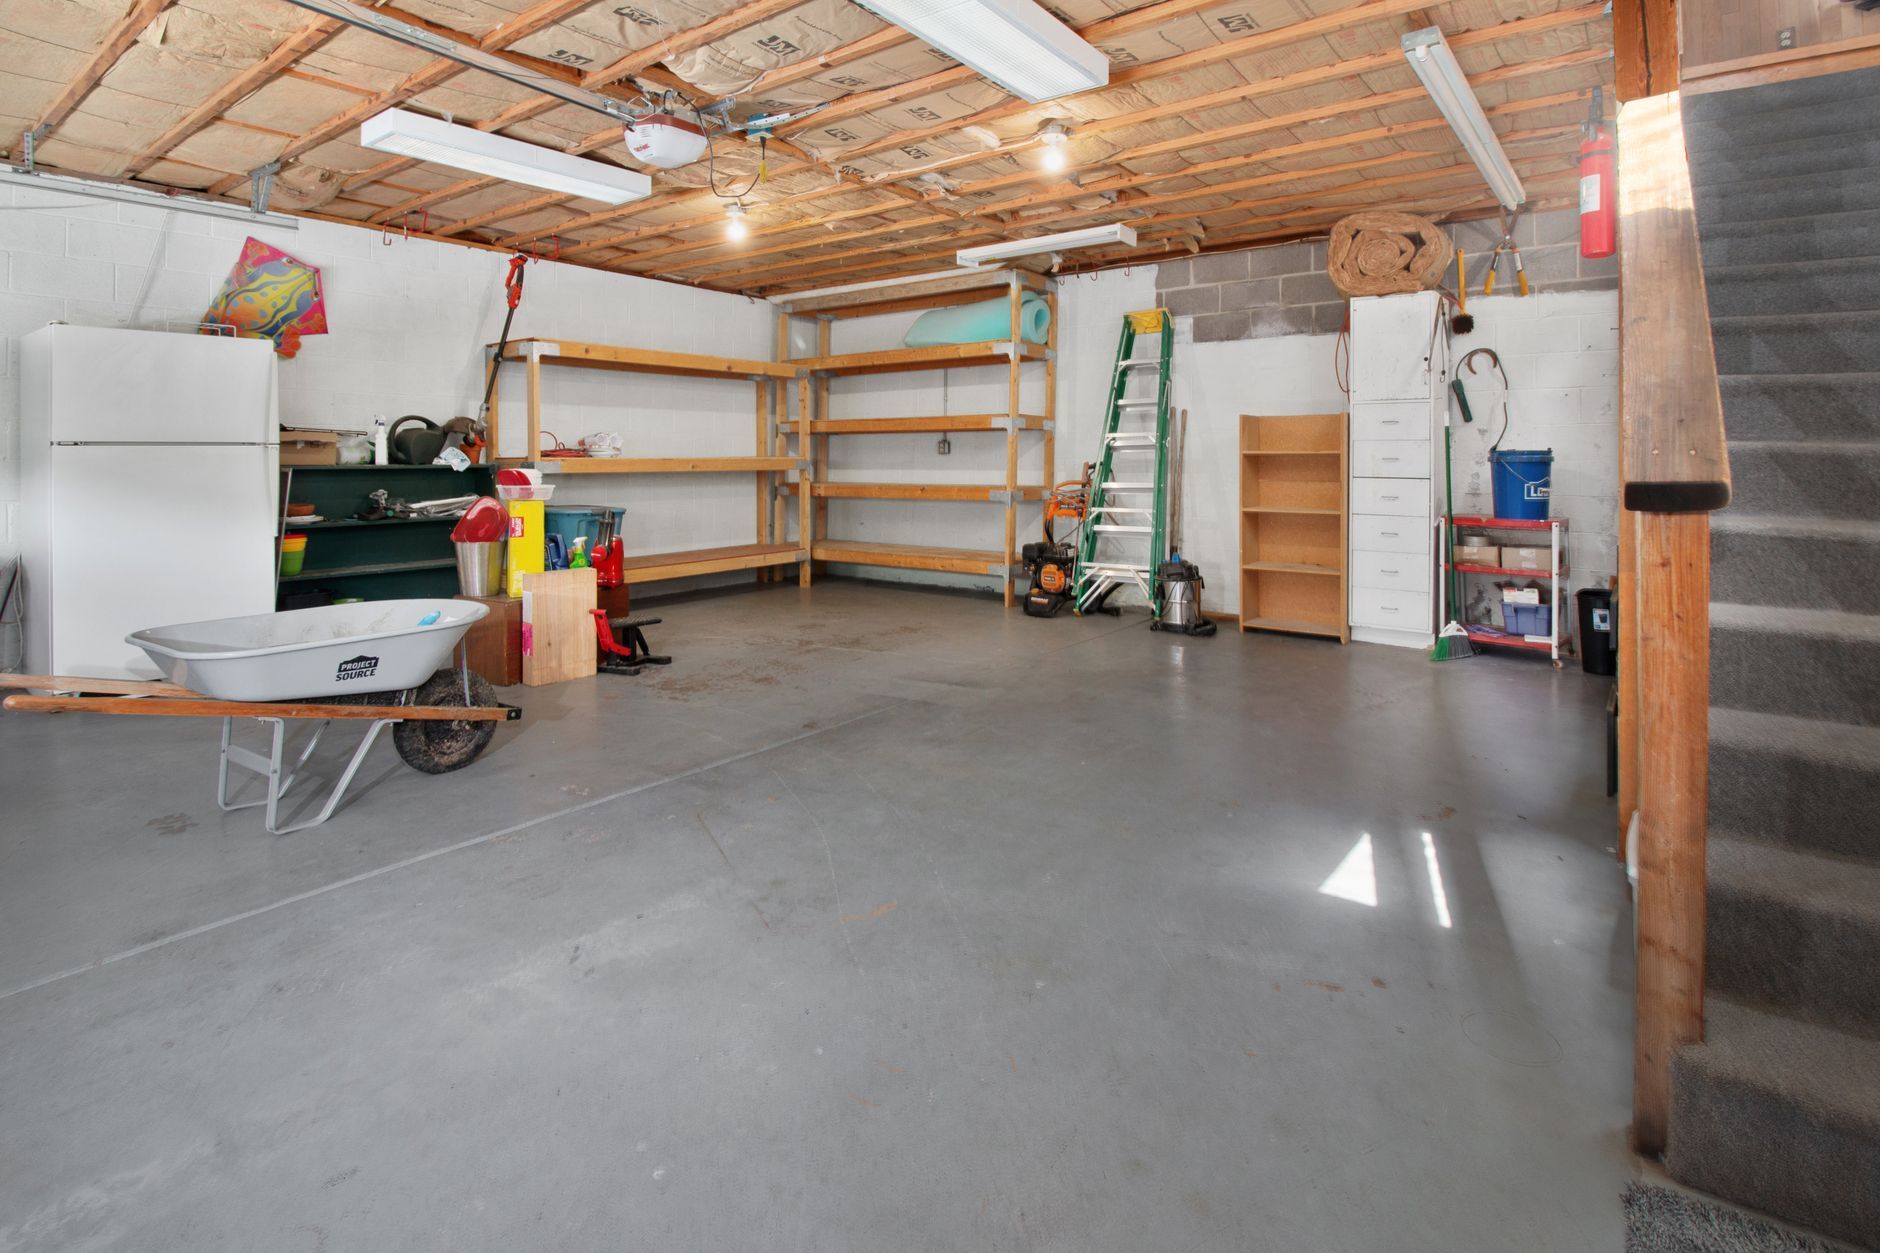
Concrete surfaces, whether they grace our driveways, patios, or walkways, are susceptible to a variety of unsightly blemishes.
From stubborn oil slicks and stubborn mold and mildew to general grime that accumulates over time, keeping concrete looking its best can feel like an uphill battle.
Fortunately, you don’t need harsh, expensive chemicals to achieve a sparkling clean.
This guide will delve into the world of homemade concrete cleaners, showcasing the benefits of these DIY solutions: they are cost-effective, eco-friendly, and give you complete control over the ingredients used.
Prepare to transform your concrete from drab to dazzling with these simple, yet powerful, recipes.
Table of Contents
Understanding Concrete Stains and Cleaning Needs
Concrete is a porous material, making it a magnet for all sorts of stains.
Common culprits include oil and grease from vehicles or cooking, rust from metal objects, mold and mildew thriving in damp conditions, and everyday food spills or tire marks.
Each type of stain presents a unique cleaning challenge.
Save this post for later 📩
Not ready to read it all now? Send it to yourself and come back whenever you're ready.
The key to effective concrete cleaning lies in understanding that different stains require different cleaning approaches.
A mild detergent might work for general dirt, but it won’t budge a deep-set oil stain.
Similarly, acidic cleaners are great for rust but can damage certain finishes.
Before you begin any cleaning task, it’s crucial to prioritize safety precautions.
Always wear gloves to protect your skin, eye protection to shield your eyes from splashes, and ensure good ventilation, especially when working with stronger ingredients or in enclosed spaces.
Also, consider the type of concrete you’re dealing with.
Is it sealed or unsealed? Sealed concrete has a protective layer that can be affected by harsh chemicals, while unsealed concrete is more porous and might require a different cleaning strategy.
A quick patch test in an inconspicuous area is always a wise move.
Basic Concrete Cleaner with Dish Soap
Liquid dish soap is a household staple for a reason.
Its surfactant properties allow it to break down and lift dirt and grease from surfaces, making it an excellent choice for general concrete cleaning.
Its mildness ensures it’s gentle on your concrete while still being effective on lighter messes.
This simple solution is particularly effective on light grime and recent spills, acting as a great first line of defense against everyday dirt.
Materials: A bucket, warm water, liquid dish soap, a stiff-bristled brush, and a hose for rinsing.
Step-by-Step Instructions
- Gather your materials: a bucket, warm water, liquid dish soap, a stiff-bristled brush, and a hose for rinsing.
- Mix approximately 1/4 cup of liquid dish soap with a gallon of warm water in the bucket. Ensure the soap is well dissolved.
- Apply the soapy solution to the concrete surface. You can pour it directly or use a sponge for larger areas.
- Scrub the area with the stiff-bristled brush, paying extra attention to any grimy or lightly stained areas. Work in small sections.
- Rinse the concrete thoroughly with a hose, ensuring all soap residue is washed away to prevent slippery surfaces.
Vinegar-Based Cleaner for Concrete
The acidic nature of white vinegar makes it a powerful ally against common concrete adversaries like mold, mildew, and certain types of grime.
It’s a natural disinfectant, helping to kill spores and bacteria that cause discoloration and odors.
Beyond its cleaning power, vinegar offers natural disinfectant properties, contributing to a healthier outdoor environment.
However, it’s important to be mindful of potential limitations.
On sealed concrete or colored concrete, prolonged exposure or strong concentrations could potentially dull the finish.
Always perform a patch test in an inconspicuous area before applying to the entire surface.
To avoid damaging the concrete, dilution is key.
Never use undiluted vinegar on large areas.
Step-by-Step Instructions
- Gather your materials: a spray bottle or bucket, distilled white vinegar, water, a stiff-bristled brush, and a hose.
- Create a cleaning solution by mixing equal parts of distilled white vinegar and water. For tougher jobs, you can slightly increase the vinegar ratio, but always test first.
- Pour the solution into a spray bottle for targeted application or a bucket for larger areas.
- Spray or pour the solution onto the stained concrete. Ensure the entire affected area is covered.
- Let it sit for 10-15 minutes to allow the vinegar’s acidity to break down the grime and kill mold/mildew.
- Scrub the area with a stiff-bristled brush. The loosened grime should now be easier to remove.
- Rinse the concrete thoroughly with a hose, ensuring no vinegar residue remains.
Baking Soda Paste for Tough Stains
Baking soda is a versatile ingredient that shines as a mild abrasive and a fantastic deodorizer.
Its gentle grit can lift surface stains without scratching, and its alkaline nature helps neutralize acidic odors.
When combined with water or other cleaning agents, baking soda becomes a potent paste that excels at tackling tougher stains like grease and oil, where its abrasive quality can work on dried-in messes.
It’s also excellent at absorbing odors, leaving your concrete smelling fresh.
Step-by-Step Instructions
- Gather your materials: baking soda, water, a bowl, a spoon or spatula, a stiff-bristled brush, and a hose.
- In the bowl, mix baking soda with just enough water to form a thick, spreadable paste. It should be like toothpaste consistency.
- Apply the paste directly to the stain, ensuring it is fully covered. For deep stains, you can create a thicker layer.
- Let the paste sit on the stain for at least 30 minutes, or longer for very stubborn stains. The longer it sits, the more it can penetrate and lift the stain.
- Scrub the area with a stiff-bristled brush. The baking soda paste will help lift the grime.
- Rinse the concrete thoroughly with a hose, ensuring all paste and loosened stain particles are washed away.
All-Purpose Cleaner with Ammonia (with caution)
Ammonia is a powerful alkaline cleaner renowned for its effectiveness against stubborn grease, grime, and soap scum.
It can cut through tough residues that other cleaners might struggle with.
Save this post for later 📩
Not ready to read it all now? Send it to yourself and come back whenever you're ready.
However, it’s imperative to strongly emphasize the dangers of mixing ammonia with bleach.
This combination creates toxic fumes that can be deadly.
Always ensure excellent ventilation when using ammonia, and never use it in enclosed spaces.
Wear gloves and eye protection.
Due to its potency, ammonia is best reserved for extremely tough jobs and it’s wise to test in an inconspicuous area first to ensure it doesn’t affect your concrete’s appearance.
This method is generally recommended for unsealed concrete primarily.
Materials: A bucket, water, household ammonia, a stiff-bristled brush, and a hose.
Step-by-Step Instructions
- Gather your materials: a bucket, water, household ammonia, a stiff-bristled brush, and a hose.
- Ensure the area is extremely well-ventilated (open doors and windows) and wear gloves and eye protection.
- Mix approximately 1/2 cup of household ammonia with a gallon of water in the bucket. Stir gently.
- Apply the solution to the concrete and scrub vigorously with a stiff-bristled brush. Work quickly and focus on the stained areas.
- Rinse the area immediately and thoroughly with a hose. Do not let the ammonia solution dry on the concrete.
- NEVER mix ammonia with bleach or other cleaning products. This is a critical safety warning.
Hydrogen Peroxide for Mold and Mildew
Hydrogen peroxide, specifically the common 3% solution, is an excellent choice for tackling mold and mildew.
It possesses both bleaching and disinfectant properties, effectively killing mold spores and lifting stubborn discoloration.
Its power lies in its ability to remove mold and mildew stains without resorting to harsh chemicals that can damage concrete or the environment.
Hydrogen peroxide can be used effectively on its own or in combination with baking soda for a more potent cleaning paste.
Allow it ample time to work.
Materials: 3% hydrogen peroxide, a spray bottle, a stiff-bristled brush, and a hose.
Step-by-Step Instructions
- Gather your materials: 3% hydrogen peroxide, a spray bottle, a stiff-bristled brush, and a hose.
- Pour undiluted 3% hydrogen peroxide into a clean spray bottle.
- Spray the hydrogen peroxide directly onto the mold or mildew-affected areas. Ensure good coverage.
- Let it sit for at least 10-15 minutes to penetrate the mold and mildew and begin its bleaching action.
- Scrub the area with a stiff-bristled brush to loosen and remove the treated mold and mildew.
- Rinse the concrete thoroughly with a hose, ensuring all traces of hydrogen peroxide and loosened debris are removed.
Oil and Grease Stain Removal with Absorbents
For fresh oil and grease spills on concrete, the principle is simple: use absorbent materials to draw out the liquid before it can soak in and set.
This is your first and most critical step for these types of stains.
Commonly found absorbent materials that work wonders include clumping cat litter, cornstarch, or even sawdust.
The finer the material, the better it can wick away the liquid.
The key is to apply the absorbent generously and give it time to work its magic.
Leave the absorbent material on the stain undisturbed for an extended period.
Step-by-Step Instructions
- Gather your materials: absorbent material (e.g., clumping cat litter, cornstarch, sawdust), a stiff brush, and a broom.
- Immediately cover fresh oil or grease spills generously with the absorbent material. Don’t be shy; pile it on thick.
- Allow the absorbent material to sit on the stain for several hours or overnight. The longer it sits, the more oil it will absorb.
- Sweep up the used absorbent material and dispose of it properly.
- For any remaining residue or for older, set-in stains, you can then follow up with one of the liquid cleaner recipes mentioned above, such as the baking soda paste or dish soap solution.
Save this post for later 📩
Not ready to read it all now? Send it to yourself and come back whenever you're ready.
Tips for Maintaining Clean Concrete
The best way to keep concrete clean is through regular maintenance.
A quick sweep with a broom to remove loose dirt and debris and a periodic rinse with a hose can prevent grime from accumulating and becoming difficult to remove.
Prompt cleanup of spills, whether they’re oil drips or coffee splashes, is crucial.
The sooner you address a spill, the less likely it is to leave a permanent mark.
Consider sealing your concrete.
A good quality concrete sealer creates a protective barrier, making the surface less porous and much easier to clean.
Spills will bead up on top, allowing for simpler wipe-ups.
To prevent moss and algae growth, especially in shaded or damp areas, ensure good drainage and consider applying a preventative treatment if you live in a humid climate.
Conclusion
As you’ve seen, achieving clean and well-maintained concrete doesn’t require a trip to the specialty cleaning aisle.
These homemade concrete cleaners are effective, economical, and provide the satisfaction of using simple, readily available ingredients.
Remember, the key to success is choosing the right cleaner for the specific stain and your concrete type.
A little observation and the right approach can make all the difference.
We encourage you to try these DIY solutions and discover how easy it can be to enhance the curb appeal of your home with cleaner, brighter concrete spaces.
The satisfaction of tackling cleaning challenges with everyday items is truly rewarding.