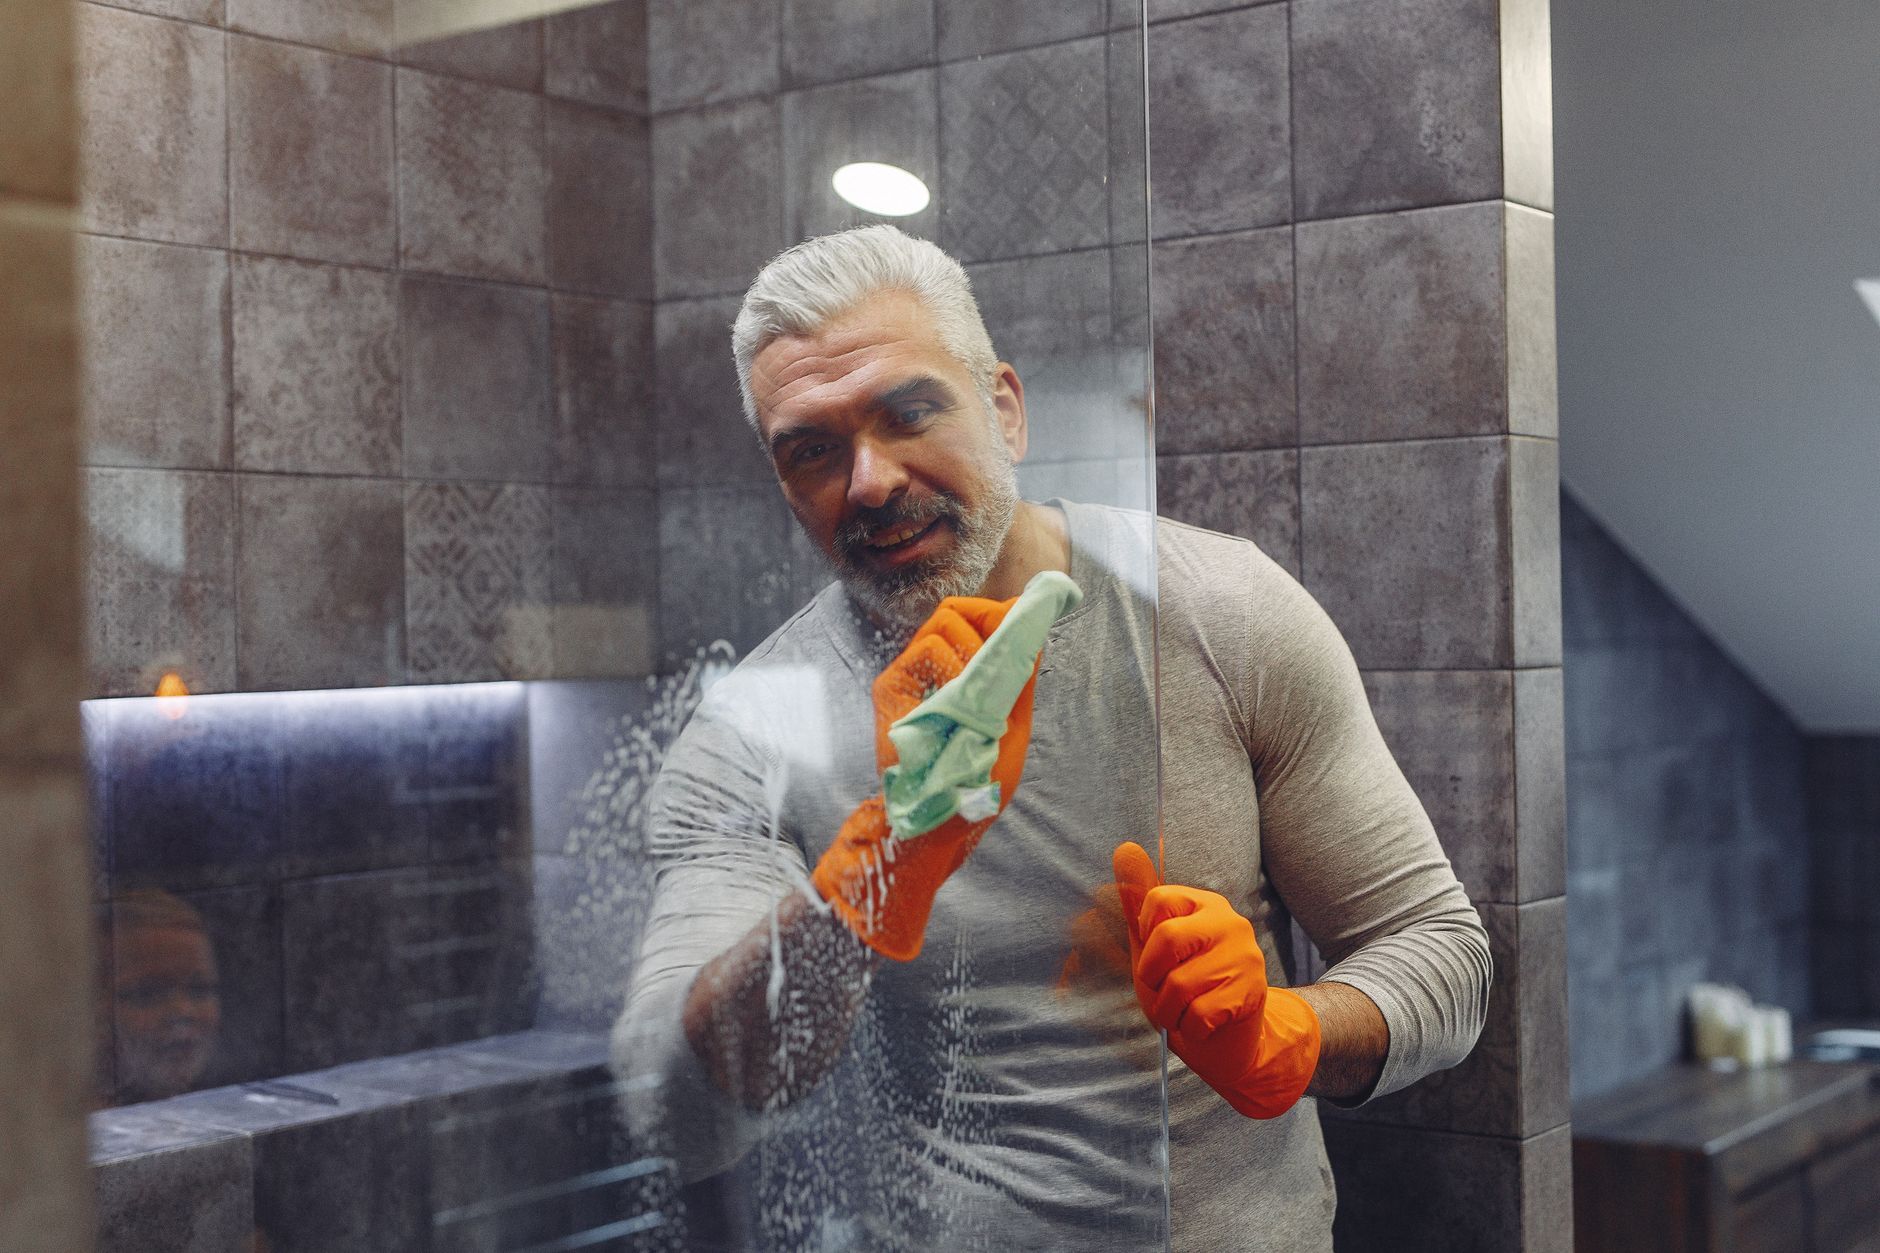
Shower doors, the gateway to our daily refresh, often become victims of an unsightly battle against soap scum, stubborn hard water stains, and the persistent creep of mildew.
These unwelcome guests not only mar the aesthetic of your bathroom but can also be challenging to tackle with commercial cleaners.
Fortunately, a sparkling clean shower door is within reach, without resorting to harsh chemicals or breaking the bank.
This post will unlock the power of simple, natural ingredients found right in your kitchen to create effective homemade shower door cleaners.
We’ll explore how staples like vinegar, baking soda, lemon, and rubbing alcohol can transform your cleaning routine, offering solutions that are both cost-effective and eco-friendly.
Get ready to ditch the store-bought sprays and embrace the brilliance of DIY cleaning!.
Table of Contents
Understanding Shower Door Grime
The culprits behind those frustrating streaks and dull film on your shower doors are a combination of everyday bathroom elements.
Save this post for later 📩
Not ready to read it all now? Send it to yourself and come back whenever you're ready.
Soap scum is a particularly tenacious foe, forming when the fatty acids in soaps react with the minerals in your water, creating a sticky, waxy residue.
Hard water stains, on the other hand, are direct deposits of minerals like calcium and magnesium left behind as water evaporates.
Finally, mildew and mold thrive in the damp, warm environment of a shower, often appearing as black or green spots, particularly in corners and along seals.
These issues are exacerbated by poor ventilation and the constant presence of moisture.
Commercial shower door cleaners often rely on strong acids or solvents to cut through this grime.
While effective, these can be expensive, have potent fumes that can irritate the respiratory system, and may not be suitable for all types of shower door materials.
This is where homemade solutions shine, offering a gentler, more affordable, and customizable approach to achieving a pristine shower.
The Power of Vinegar and Dish Soap
Vinegar, specifically distilled white vinegar, is a powerhouse in the cleaning world thanks to its natural acidity.
This acidity is brilliant at breaking down the mineral deposits in hard water stains and the alkaline components of soap scum.
It acts as a natural disinfectant, helping to combat mold and mildew as well.
Liquid dish soap is your trusty sidekick in this duo.
Its primary function is as a surfactant, meaning it lowers the surface tension of water and helps to lift and emulsify grease, oils, and other residues.
When combined with vinegar, it helps to suspend the loosened grime, making it easier to wipe away.
Step-by-Step Instructions
- Mix equal parts distilled white vinegar and liquid dish soap in a clean spray bottle. A 1:1 ratio is a great starting point.
- For tougher stains that have been lingering, gently heat the vinegar (do not boil, just warm) before mixing it with the dish soap. Warm vinegar is even more effective at dissolving grime.
- Generously spray the mixture directly onto the shower door, ensuring all affected areas are covered.
- Allow the solution to sit and work its magic for 5-15 minutes, depending on the severity of the grime. For very stubborn buildup, you might need the longer end of this time frame.
- Using a non-abrasive sponge or a soft cloth, gently scrub the shower door. Focus on areas with visible soap scum or hard water marks. Avoid using steel wool or abrasive scrubbers that can scratch the glass.
- Rinse the shower door thoroughly with clean water. A handheld showerhead is ideal for this step.
- To prevent water spots and achieve a brilliant shine, dry the door immediately with a clean, dry microfiber cloth. Microfiber is highly absorbent and won’t leave lint behind.
Baking Soda for Scrubbing Power
Baking soda, or sodium bicarbonate, is a gem in any cleaning arsenal.
Its mildly abrasive nature makes it an excellent natural scrubber, capable of lifting away stuck-on grime without scratching surfaces.
Beyond its scrubbing capabilities, baking soda is also a fantastic natural deodorizer, helping to neutralize any lingering bathroom odors.
When mixed with a liquid, baking soda transforms into a versatile paste.
This paste can be applied directly to problem areas, allowing its abrasive action and deodorizing properties to work on stubborn soap scum and tough water spots.
Step-by-Step Instructions
- Create a thick paste by mixing baking soda with just enough water or vinegar to form a spreadable consistency. Start with a small amount of liquid and add more gradually.
- Apply this paste directly to areas with stubborn soap scum or hard water stains. You can use your fingers or a sponge to spread it.
- Let the paste sit on the affected areas for 10-15 minutes. This allows the baking soda to penetrate and loosen the grime.
- Gently scrub the area with a damp sponge or cloth. The abrasive texture of the baking soda will help lift away the residue.
- Rinse the entire shower door thoroughly with water to remove all traces of the baking soda paste and loosened grime.
- Wipe the door dry with a clean microfiber cloth to achieve a streak-free finish.
Lemon Juice for Shine and Freshness
The bright, zesty scent of lemon is just the beginning of its cleaning prowess.
Lemon juice’s natural acidity is effective at cutting through light grime, grease, and mineral deposits, much like vinegar but with a much more pleasant aroma.
It’s also known for its ability to add a beautiful shine to surfaces.
Lemon juice is particularly well-suited for light, routine cleaning and for imparting a final polished look.
It’s a great option when your shower doors don’t have heavy buildup but could use a refresh and a touch of sparkle.
Step-by-Step Instructions
- In a spray bottle, mix equal parts fresh lemon juice and water. Alternatively, you can use the juice of one whole lemon mixed with a cup of water.
- Spray this refreshing solution onto the shower door, covering the glass surface.
- Wipe down the door with a soft, clean cloth. A microfiber cloth works best for this.
- For an extra streak-free shine, buff the door with a separate dry microfiber cloth after wiping.
- This method is ideal for regular maintenance cleaning to keep your shower doors looking their best between deeper cleans.
Save this post for later 📩
Not ready to read it all now? Send it to yourself and come back whenever you're ready.
Rubbing Alcohol for Streak-Free Results
Rubbing alcohol, also known as isopropyl alcohol, is a fantastic ingredient for achieving a flawless, streak-free finish on glass surfaces.
Its primary advantage is its quick evaporation rate.
This means it dries almost instantly, leaving behind very little moisture to form water spots or streaks.
Beyond its drying properties, rubbing alcohol can also help to dissolve and lift away hard water deposits and residue from cleaning products, making it an excellent final step in your cleaning process.
Step-by-Step Instructions
- In a spray bottle, mix one part rubbing alcohol with one part water. A 50/50 solution is generally effective.
- Spray the solution sparingly onto the shower door.
- Immediately wipe clean with a clean microfiber cloth. Work in overlapping strokes for best results.
- This method is an excellent final step after using any of the other cleaning solutions mentioned. It acts as a final polish, ensuring a brilliant, water-spot-free shine.
Advanced Cleaning: Tackling Tough Stains
For those truly stubborn, set-in stains that seem resistant to everyday cleaning, a more potent approach might be necessary.
This often involves combining the powers of our basic ingredients or allowing them to work for longer periods.
When faced with extremely tough hard water stains that have built up over time, a thicker, more concentrated paste can be your best friend.
For mildew, a combination that tackles both the stains and the spores is required.
Step-by-Step Instructions
- For heavy hard water stains: Create a thick paste of baking soda and vinegar. Apply this paste generously to the stained areas, ensuring good coverage. Let it sit for at least 30 minutes, or even up to an hour for very severe cases. Then, scrub gently with a non-abrasive sponge and rinse thoroughly.
- For mildew: Make a paste using baking soda and a small amount of hydrogen peroxide (3%). Hydrogen peroxide has mild bleaching properties that can help lift mildew stains. Apply this paste to the affected areas, let it sit for about 30 minutes, then gently scrub and rinse. Alternatively, for persistent mildew, a strong vinegar-based spray left to sit for a longer duration (e.g., 30 minutes to an hour) can also be effective.
- When dealing with potential mold or mildew, ensure good ventilation. Open windows and doors if possible, and use an exhaust fan to circulate air. This is crucial for both your health and to help the area dry out effectively.
Preventative Maintenance for Cleaner Shower Doors
The best cleaning is often the least amount of cleaning.
By incorporating a few simple habits into your routine, you can significantly reduce the buildup of soap scum and hard water stains, making subsequent cleaning much easier.
These proactive measures focus on removing moisture and preventing residue from adhering to the glass, keeping your shower doors looking cleaner for longer.
Step-by-Step Instructions
- Use a squeegee to wipe down your shower doors after each use. This simple step removes the majority of water droplets, which are the primary cause of water spots and mineral buildup.
- Ensure proper ventilation in your bathroom. Use your exhaust fan during and after showers, or open a window to allow moist air to escape. This helps to dry out the shower area more quickly.
- After squeegeeing, give the shower door a quick wipe with a dry microfiber cloth. This removes any remaining moisture and prevents streaks.
- Perform a light cleaning with a diluted vinegar-water solution (e.g., 1:4 vinegar to water) at least once a week. This prevents minor buildup from becoming a major problem.
Important Safety and Best Practices
While homemade cleaners are generally safer than their commercial counterparts, it’s still important to practice good hygiene and safety when cleaning.
Understanding how to use these ingredients effectively and safely will ensure the best results for your shower doors and your well-being.
Always prioritize testing any new cleaning solution on a small, inconspicuous area of your shower door before applying it to the entire surface.
This is especially important for older or specially treated glass.
When it comes to cleaning cloths, microfiber is your best friend.
Save this post for later 📩
Not ready to read it all now? Send it to yourself and come back whenever you're ready.
It’s highly absorbent, won’t scratch glass, and effectively traps dirt and grime.
Avoid abrasive scrub pads, steel wool, or rough towels that can cause permanent damage.
Crucially, never mix certain cleaning ingredients.
For example, never mix bleach with vinegar, as this creates toxic chlorine gas.
Stick to the recipes provided, and if in doubt, research the safety of combining ingredients.
Conclusion
Say goodbye to stubborn soap scum, unsightly water stains, and the persistent threat of mildew! As we’ve explored, achieving a sparkling clean shower door doesn’t require a trip to the store for expensive and harsh chemicals.
The power to restore your shower’s shine lies within your pantry, with simple, natural ingredients that are both effective and gentle.
From the acidic punch of vinegar to the gentle abrasion of baking soda, and the refreshing zest of lemon, these homemade solutions are easy to create and incredibly effective.
By embracing these DIY recipes, you’re not only saving money but also choosing a healthier and more environmentally conscious way to maintain your home.
We encourage you to try these recipes and witness the transformation for yourself.
With a little effort and the right ingredients, you can enjoy a consistently clean, hygienic, and inviting shower environment.
Happy cleaning!.