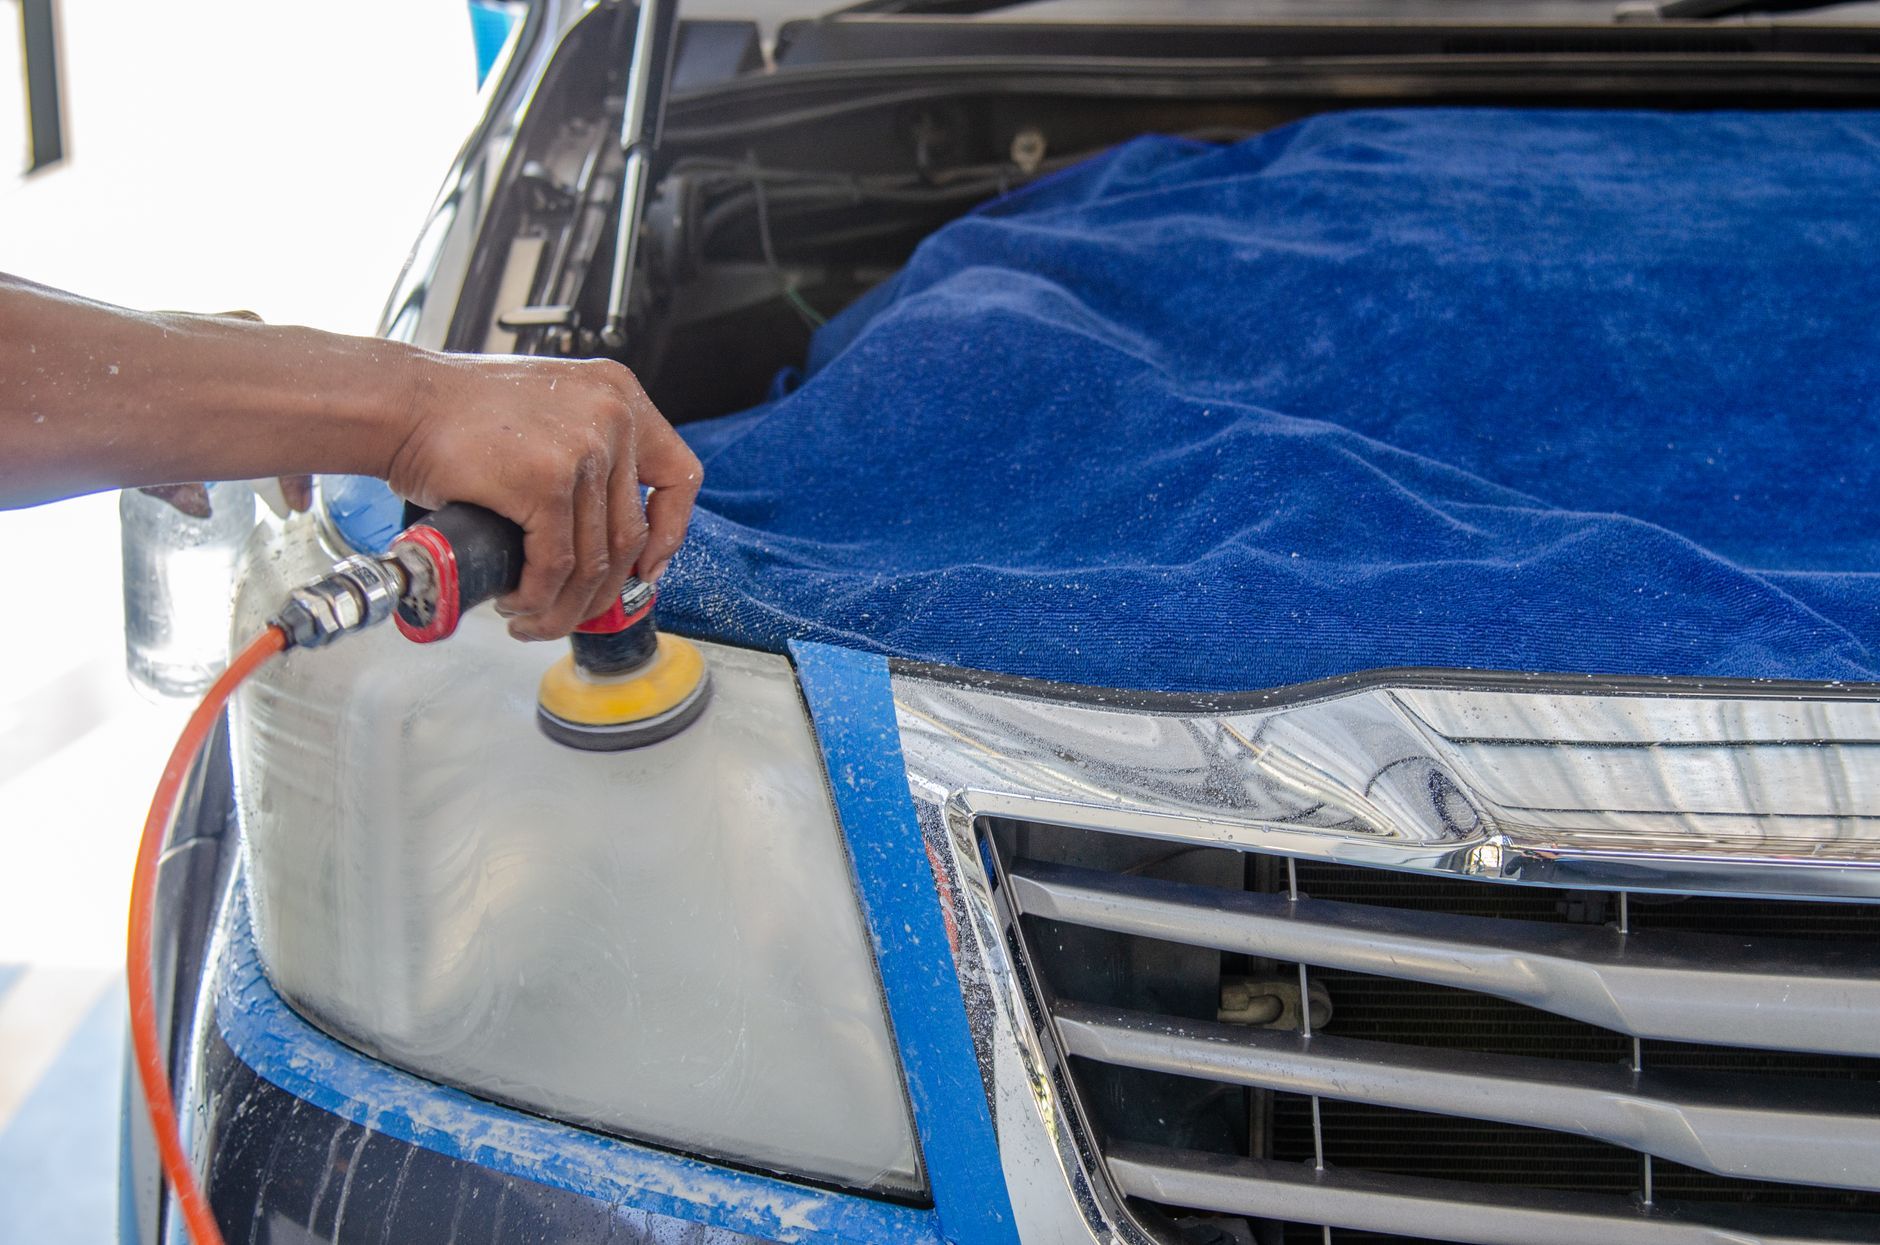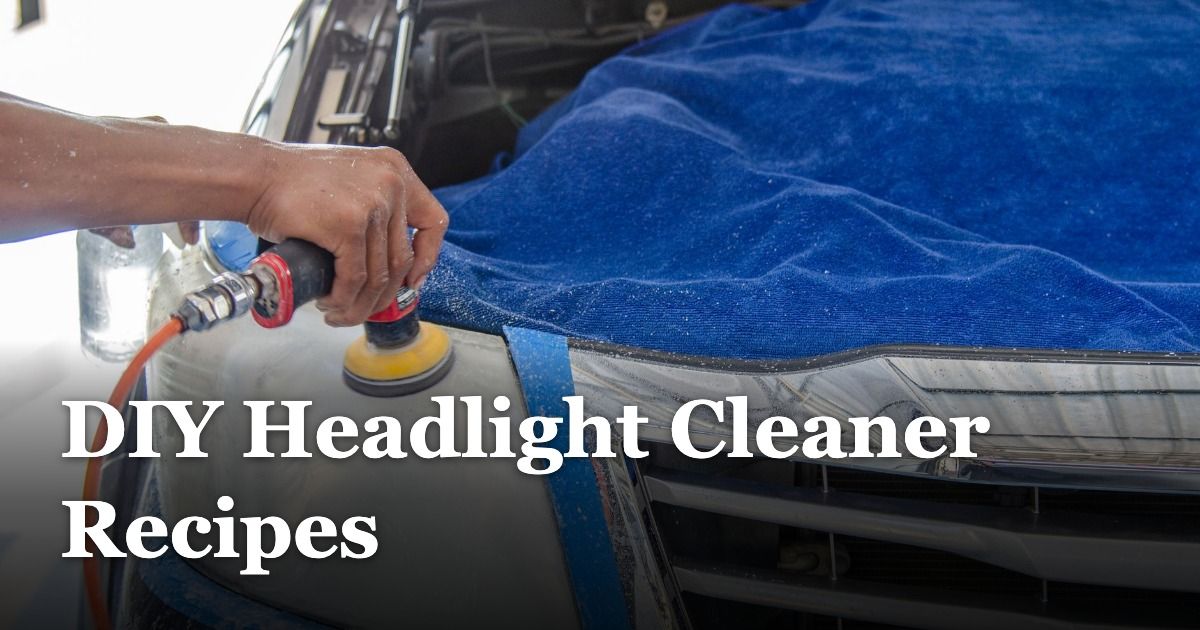
Are your car’s headlights looking dull, foggy, and yellow? This common problem not only detracts from your vehicle’s appearance but, more importantly, can severely compromise your safety on the road.
Dimmed headlights reduce visibility at night and in poor weather conditions, making it harder for you to see and for others to see you.
While professional restoration services can be costly, and replacing the entire headlight assembly even more so, the good news is that you can often restore their clarity using simple, everyday household items.
Get ready to be surprised by how effective common items can be in bringing back the sparkle and safety to your headlights!.
Table of Contents
Why Headlights Deteriorate
The primary culprit behind the deterioration of your headlights is UV exposure from sunlight.
Over time, the ultraviolet rays break down the plastic coating on the headlight lenses, causing them to oxidize and turn hazy or yellow.
Think of it like a sunburn for your car’s eyes.
Beyond the sun’s relentless rays, road debris such as small stones, dirt, and sand can create micro-abrasions on the surface of your headlights.
Chemical contaminants from car washes, road salt, and other environmental pollutants can also accelerate the degradation process.
These cumulative impacts weaken the protective layer and dull the lens.
The safety implications of impaired headlights are significant.
Reduced clarity means less light is projected onto the road, making it harder to navigate at night or in challenging weather conditions like rain, fog, or snow.
Save this post for later 📩
Not ready to read it all now? Send it to yourself and come back whenever you're ready.
Furthermore, impaired headlights can make your vehicle less visible to other drivers, increasing the risk of accidents.
Benefits of Cleaning and Restoring Headlights
The most critical benefit of restoring your headlights is enhanced safety.
Clearer headlights mean a brighter, more focused beam of light, significantly improving your night vision and ensuring you can see hazards on the road ahead.
It also makes your vehicle more conspicuous to other drivers, improving signaling and reducing the chances of a collision.
Beyond the practical safety advantages, the aesthetic improvements are undeniable.
Restored headlights can make your entire vehicle look newer and better maintained.
The dull, yellowed appearance is replaced with a bright, clear finish that dramatically boosts your car’s curb appeal.
Investing a little time in headlight restoration can even increase your vehicle’s resale value.
Potential buyers are often put off by the appearance of neglected components, and well-maintained headlights signal that the car has been cared for, making it a more attractive prospect on the used car market.
Perhaps the most compelling benefit for many is the significant cost savings.
Instead of shelling out hundreds of dollars for professional services or thousands for new headlight assemblies, you can achieve remarkable results with a few dollars worth of common household items.
It’s a testament to effective DIY solutions.
Preparation and Safety Precautions
For the best results, aim to work on your headlights in a shaded area and when the surface of the vehicle is cool to the touch.
Direct sunlight can cause cleaning solutions to dry too quickly, leading to streaks or uneven application.
A cool surface also makes it more comfortable to work and prevents potential damage to the paintwork.
Gather your essential tools: several clean microfiber cloths are crucial for applying cleaners and buffing, a bottle of water for rinsing, masking tape to protect surrounding paint and trim, and a pair of gloves to protect your hands.
Depending on the chosen cleaning method, you’ll also need specific ingredients.
It is absolutely vital to clean the surrounding paintwork before you begin.
Any dirt or debris on the paint can cause scratches when you start rubbing the headlights.
Use your soapy water and a clean microfiber cloth to gently wash the area around the headlights.
Once clean, use masking tape to meticulously cover the edges of the paint and any plastic trim you want to protect from the cleaning agents.
Always ensure the vehicle is turned off and the engine is cool before you start any cleaning.
While most DIY headlight cleaners are mild, it’s good practice to be mindful of electrical components.
Avoid spraying liquids directly into any openings or vents.
If you’re unsure about a particular product or method, test it on an inconspicuous area first.
DIY Headlight Cleaner: Baking Soda Paste
Baking soda is a true multitasker in the home, and it shines as a headlight cleaner due to its properties as a mild, natural abrasive.
It’s gentle enough not to scratch the plastic but effective enough to lift and remove the oxidized layer causing haziness.
Chemically, baking soda (sodium bicarbonate) is a mild alkali.
When mixed with water to form a paste, it creates a slightly gritty texture that helps to physically scrub away the degraded plastic without causing damage.
Its mild alkalinity can also help to break down some of the grime and road film.
One of the biggest advantages of baking soda is its incredible accessibility and low cost.
You likely already have it in your pantry, making this a highly economical solution for restoring your headlights.
Step-by-Step Instructions
- Gather ingredients: baking soda, water, and clean microfiber cloths.
- In a small bowl, mix baking soda with just enough water to create a thick, spreadable paste. It should have the consistency of toothpaste.
- Apply a generous amount of the baking soda paste onto a clean microfiber cloth.
- Gently rub the paste onto the headlight surface using a circular motion. Apply moderate pressure, but avoid scrubbing too aggressively.
- If the oxidation is particularly stubborn, allow the paste to sit on the headlight for a few minutes before rubbing.
- Rinse the headlight thoroughly with clean water to remove all traces of the baking soda paste.
- Dry the headlight completely with a separate, clean, and dry microfiber cloth.
- Inspect the results. If significant haziness remains, repeat the process. You might need two or three applications for heavily oxidized headlights.
DIY Headlight Cleaner: Toothpaste Method
You might be surprised to learn that regular, non-gel white toothpaste can be an effective headlight cleaner.
The magic lies in its mild abrasives, typically silica or calcium carbonate, which are designed to polish teeth without damaging enamel.
These same ingredients can gently buff away the oxidized layer on your headlights.
It’s crucial to choose white, non-gel toothpaste.
Gels often lack the necessary abrasive particles, and colored toothpastes could potentially stain the plastic.
The standard paste formula provides the right balance of cleaning power and gentle abrasion.
This method is favored for its extreme ease of use and ubiquitous availability.
Most households have a tube of toothpaste on hand, making it a convenient go-to solution for a quick headlight refresh.
Step-by-Step Instructions
- Gather ingredients: non-gel white toothpaste, water, and clean microfiber cloths.
- Apply a generous dollop of toothpaste directly onto the clouded headlight lens.
- Using a clean microfiber cloth, begin to rub the toothpaste onto the headlight in a circular motion, applying firm but consistent pressure.
- Continue rubbing for several minutes, working the toothpaste over the entire surface until you start to notice a difference in clarity.
- Wipe away the toothpaste residue with a damp microfiber cloth, ensuring all the white residue is removed.
- Dry the headlight thoroughly with a separate clean, dry microfiber cloth, buffing it to a shine.
- Assess the clarity. If further improvement is desired, repeat the process.
DIY Headlight Cleaner: Vinegar Solution
The acetic acid found in distilled white vinegar is a natural degreaser and mild acid that can help to break down the oxidation and grime that dull your headlights.
It’s a surprisingly effective cleaner for many household tasks, including car care.
Save this post for later 📩
Not ready to read it all now? Send it to yourself and come back whenever you're ready.
Vinegar is renowned for its natural cleaning properties and affordability.
It’s an eco-friendly alternative to harsh chemical cleaners and readily available at any grocery store, making it a cost-effective choice.
It’s important to note that the vinegar solution may be more suitable for lighter hazing or as a pre-treatment to remove surface dirt and oils before using a more abrasive method.
For heavily oxidized headlights, it might not be aggressive enough on its own.
Step-by-Step Instructions
- Gather ingredients: distilled white vinegar, water, a spray bottle, and clean microfiber cloths.
- In the spray bottle, mix equal parts distilled white vinegar and water. For example, 1 cup of vinegar to 1 cup of water.
- Spray the vinegar solution generously onto the headlight lens, ensuring it’s well coated.
- Allow the solution to sit on the headlight for 5-10 minutes. This gives the acetic acid time to work on the oxidation.
- Gently scrub the headlight with a clean microfiber cloth, working in circular motions.
- Rinse the headlight thoroughly with clean water to remove any vinegar residue.
- Dry the headlight completely with a clean, dry microfiber cloth.
DIY Headlight Cleaner: Dish Soap and Water
While not a primary restoration method on its own, mild dish soap is excellent at cutting through grease, road film, and general surface dirt that accumulates on headlights.
It prepares the surface for more intensive cleaning and is a crucial first step.
Dish soap is mild and effective at cleaning without damaging the plastic headlight lenses.
Its surfactant properties allow it to lift and suspend dirt and oils, making them easy to wash away.
This method is best employed as an initial cleaning step before moving on to more abrasive DIY solutions like baking soda or toothpaste.
A clean surface allows the restorative compounds to work more effectively.
Step-by-Step Instructions
- Gather ingredients: mild dish soap, warm water, and clean microfiber cloths.
- In a bucket, mix a few drops of mild dish soap with warm water. You don’t need a lot of soap; just enough to create some suds.
- Dip a clean microfiber cloth into the soapy water and wring out any excess liquid.
- Gently wipe down the headlight to remove loose dirt, grime, and road film.
- Rinse the headlight thoroughly with clean water to remove all soap residue.
- Dry the headlight completely with a clean microfiber cloth.
Advanced DIY: Using Rubbing Alcohol
Rubbing alcohol, specifically isopropyl alcohol, can act as a potent solvent and a fast-drying agent.
It can help to remove stubborn grime, residue, and can leave a streak-free finish.
Use rubbing alcohol with caution.
While effective, it can be quite drying to surrounding materials like plastic trim or rubber seals if not handled properly.
It’s advisable to protect these areas with masking tape.
For tougher spots, undiluted alcohol can be used, but always start with a diluted solution.
Rubbing alcohol is excellent as a final finishing step to ensure a completely clean and streak-free surface, or for tackling specific types of sticky residue or road tar that other methods might struggle with.
Step-by-Step Instructions
- Gather ingredients: rubbing alcohol (70% or 90% isopropyl alcohol), water, and clean microfiber cloths.
- In a clean spray bottle, mix one part rubbing alcohol with one part water. For particularly stubborn grime, you can opt to use undiluted rubbing alcohol, but apply it sparingly and with caution, ensuring surrounding materials are protected.
- Lightly spray the alcohol solution onto the headlight lens. Avoid oversaturating.
- Immediately wipe the lens with a clean microfiber cloth. The alcohol will help lift and remove any remaining residue.
- Use a separate, dry microfiber cloth to buff the headlight to a crystal-clear, streak-free finish.
Sealing and Protecting Your Restored Headlights
Once you’ve achieved that crystal-clear finish, it’s crucial to seal the headlights.
Without protection, the plastic will be exposed to UV rays and the elements again, leading to rapid re-oxidation and a return to that dull, yellowed state.
There are several DIY sealing options.
You can use a clear coat spray specifically designed for automotive plastics, which offers excellent UV protection.
Another option is to apply a high-quality, UV-resistant car wax or sealant.
Look for products that explicitly state UV protection.
The application process for sealants is generally straightforward.
Most clear coat sprays require a light, even application.
Waxes and sealants are typically applied in thin layers with a foam applicator and buffed off with a microfiber cloth.
Step-by-Step Instructions
- Ensure the headlights are completely dry and impeccably clean after your chosen cleaning method. Any remaining residue will be sealed in.
- Apply a thin, even coat of your chosen UV-resistant sealant or clear coat spray according to the product’s instructions. Work in a well-ventilated area if using sprays.
- Allow the first coat to dry completely as directed by the product manufacturer. This is critical for proper adhesion and protection.
- Apply a second coat if recommended by the product for enhanced durability and protection.
- Allow the sealant to cure fully. This can take anywhere from a few hours to 24 hours, depending on the product. Avoid washing the car or exposing the headlights to harsh elements during this curing period.
Maintenance Tips for Long-Lasting Clarity
Regular washing and wiping of your headlights is key.
Save this post for later 📩
Not ready to read it all now? Send it to yourself and come back whenever you're ready.
When you wash your car, give the headlights a gentle wipe-down with car wash soap and water.
This removes accumulating dirt and debris before it has a chance to bond with the plastic.
Whenever possible, try to park in shaded areas to minimize direct UV exposure.
Even short periods of direct sunlight can contribute to the breakdown of the plastic over time.
Carports or garages are ideal.
Plan for periodic reapplication of your chosen sealant.
Depending on the product used and your driving conditions, you might need to reapply the sealant every 6-12 months to maintain optimal protection and clarity.
Check the manufacturer’s recommendations.
When to Seek Professional Help
While DIY methods are incredibly effective for most cases of hazing and yellowing, there are scenarios where DIY might not be sufficient.
If your headlight lenses are severely damaged, showing deep scratches, cracks, or if the plastic has become brittle and is flaking off, these homemade solutions may not be able to repair the damage.
In such cases, professional restoration services might be a better option.
Professionals have specialized tools, compounds, and sealants that can address more significant damage.
They can often achieve a level of clarity and durability that’s hard to replicate at home.
Replacement of the entire headlight assembly is generally a last resort, typically considered when the lenses are irreparably damaged, the internal components are failing (like the bulbs or seals), or when professional restoration is deemed too costly compared to new parts.
Conclusion
We’ve explored several simple yet powerful DIY methods for cleaning and restoring your car’s headlights, from the humble baking soda paste and toothpaste to the versatile vinegar solution.
These techniques harness the power of common household ingredients to tackle oxidation and haziness.
Remember, clear headlights are not just about aesthetics; they are fundamental to your safety on the road.
By restoring their clarity, you significantly improve visibility for yourself and make your vehicle more visible to others, especially during nighttime driving and adverse weather conditions.
Don’t let foggy headlights compromise your driving experience or your wallet.
We encourage you to try these cost-effective solutions and enjoy the remarkable difference that bright, clear headlights can make to both your vehicle’s appearance and your peace of mind.