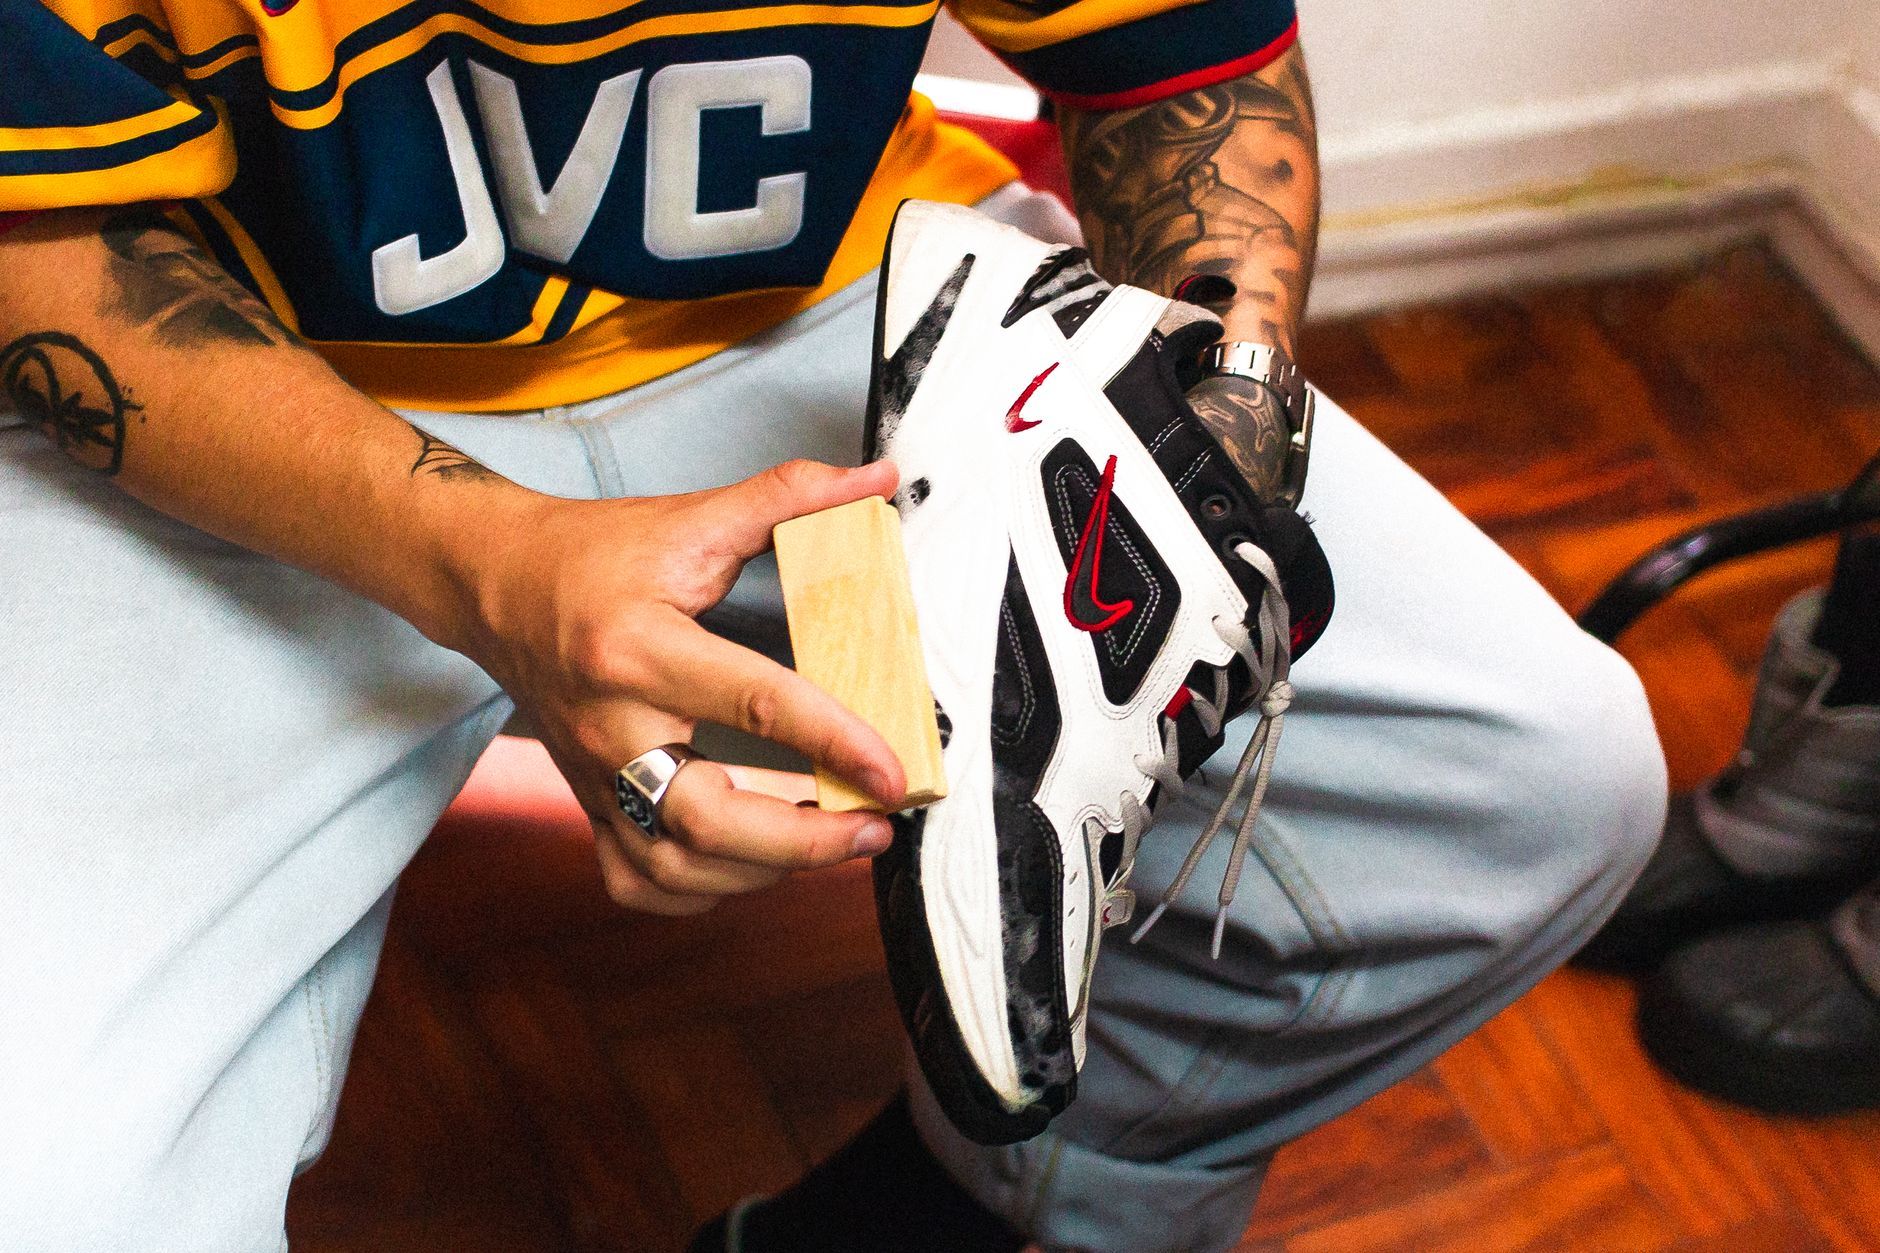
Are your favorite sneakers looking a little worse for wear? Do your cherished leather boots bear the marks of countless adventures? Dirty shoes can quickly detract from an otherwise polished look, and the cost of professional cleaning or constant replacement can add up.
The good news? You don’t need a cabinet full of specialized products to restore your footwear to its former glory.
Embracing DIY shoe cleaning is not only cost-effective but also allows you to harness the power of natural, readily available ingredients.
From stubborn scuffs to persistent odors, there’s a simple, effective solution waiting in your pantry.
However, it’s crucial to remember that not all shoes are created equal.
Different materials demand different approaches to avoid damage.
This guide will equip you with a range of DIY recipes tailored to various shoe types, empowering you to tackle dirt and grime with confidence and the satisfying knowledge that you’re extending the life and beauty of your beloved shoe collection.
Table of Contents
Understanding Your Shoe Materials
Before you even think about reaching for a cleaning solution, the most critical first step is to identify the material of your shoes.
This knowledge will dictate which cleaning methods are safe and effective.
Save this post for later 📩
Not ready to read it all now? Send it to yourself and come back whenever you're ready.
Common materials include leather (smooth, patent), canvas, suede, nubuck, mesh, and various synthetic fabrics.
Each has unique properties that require specific care.
Leather is a natural material that needs to retain its oils to prevent drying and cracking.
Canvas and mesh are generally durable but can be susceptible to staining.
Suede and nubuck are particularly delicate, with a soft, napped surface that can be easily damaged by harsh chemicals or excessive moisture.
Synthetics offer versatility but can sometimes react poorly to abrasive cleaners.
Always err on the side of caution.
Using harsh chemicals like bleach or abrasive scrubbing pads on delicate materials like suede or fine leather can cause irreparable damage, leading to discoloration, loss of texture, or even tearing.
When in doubt, always perform a patch test on an inconspicuous area first.
General Pre-Cleaning Steps
No matter what cleaning recipe you choose, a few fundamental preparation steps will ensure a more effective and efficient cleaning process.
These preparatory steps are designed to remove loose debris and create a clean slate for your chosen cleaning solution, making the actual cleaning much easier and preventing dirt from being rubbed further into the material.
Step-by-Step Instructions
- Remove any loose dirt, mud, or debris from the shoes using a dry brush or cloth. A dedicated shoe brush or an old toothbrush works wonders for getting into crevices.
- If applicable, remove the shoelaces and clean them separately. This allows for a more thorough clean of the shoe’s upper and eyelets.
- Lay down old newspapers or a towel to protect your cleaning area. This prevents accidental spills and makes cleanup afterward a breeze.
All-Purpose Dish Soap Cleaner
For everyday dirt and grime on many common shoe materials like canvas, mesh, and some synthetics, a simple solution of mild liquid dish soap is incredibly effective.
Dish soap is designed to break down grease and lift dirt, making it an excellent choice for tackling general soiling without being overly harsh.
Its effectiveness lies in its ability to emulsify oils and dirt, allowing them to be easily rinsed away.
Plus, most households already have a bottle of mild dish soap on hand, making this a super affordable and accessible cleaning option.
This is your go-to for general cleaning needs, especially when you’re unsure where to start.
Step-by-Step Instructions
- Mix a few drops of mild liquid dish soap with warm water in a bowl. Aim for a lightly sudsy solution, not an overly foamy one.
- Dip a soft-bristled brush or a clean cloth into the solution. An old toothbrush or a soft detailing brush is ideal for scrubbing.
- Gently scrub the soiled areas of the shoes, working in small sections. Apply light to moderate pressure, depending on the material.
- Wipe away the soapy residue with a clean, damp cloth. Rinse the cloth frequently to ensure you’re removing the soap, not just spreading it.
- Allow the shoes to air dry completely. Avoid direct sunlight or heat sources.
White Vinegar for Tough Stains and Odors
White vinegar is a powerhouse natural cleaner with remarkable deodorizing and stain-fighting properties.
Its acidity helps to break down tough stains, and it also acts as a mild disinfectant, making it excellent for combating unpleasant odors that can linger in shoes.
It’s particularly effective against water stains and general discoloration.
Its natural disinfectant qualities make it a great choice for cleaning the inside of shoes, helping to neutralize bacteria that cause odor.
However, it’s important to dilute it, especially for more sensitive materials.
The distinct smell of vinegar will dissipate completely as the shoes dry, leaving them fresh.
Step-by-Step Instructions
- Mix equal parts distilled white vinegar and warm water in a spray bottle. This dilution is crucial for protecting most shoe materials.
- Lightly spray the stained areas or the interior of the shoes. For tougher exterior stains, you can use a slightly more concentrated solution, but always test first.
- Let it sit for a few minutes to allow the vinegar to work on the stain or odor.
- Gently scrub with a soft brush or cloth. Use a circular or back-and-forth motion depending on the stain.
- Wipe clean with a damp cloth. Ensure all vinegar solution is removed.
- Air dry thoroughly. The vinegar smell will dissipate as it dries, leaving your shoes smelling fresh.
Baking Soda Paste for Deep Cleaning and Whitening
Baking soda is a fantastic natural abrasive that can gently scrub away dirt and stains without scratching.
It’s a go-to ingredient for deep cleaning and whitening, particularly effective for brightening up white shoes or restoring the pristine look of rubber soles and accents.
Its alkaline nature also makes it excellent at neutralizing odors.
This paste is perfect for those stubborn marks that regular soap can’t handle, and it’s particularly beneficial for bringing back the brightness to dingy white components of your shoes.
Be mindful of the pressure you apply when scrubbing, especially on more delicate materials, to avoid any unintended wear.
Step-by-Step Instructions
- Mix baking soda with a small amount of water to create a thick paste. You want a consistency that is easy to apply but won’t drip.
- Apply the paste to stained areas or the entire shoe, focusing on the areas that need the most attention.
- Let the paste sit for 15-20 minutes. This allows the baking soda to lift stains and odors.
- Gently scrub with a soft brush or toothbrush. An old toothbrush is perfect for targeting specific spots.
- Wipe away the paste with a damp cloth. You may need to rinse the cloth multiple times.
- Rinse thoroughly with a clean, damp cloth. Ensure all baking soda residue is removed to prevent a chalky finish.
- Air dry completely. This ensures the paste has fully dried and can be brushed off easily.
Rubbing Alcohol for Ink and Stubborn Marks
Rubbing alcohol, specifically isopropyl alcohol, is a potent solvent that excels at breaking down and lifting stubborn marks, most notably ink stains.
Save this post for later 📩
Not ready to read it all now? Send it to yourself and come back whenever you're ready.
Its fast-evaporating nature makes it ideal for spot treatments, minimizing the risk of water damage to the shoe material.
This is your secret weapon for those frustrating accidents like ink pen leaks or scuff marks that won’t budge.
However, it’s crucial to use this with extreme caution, as it can also strip color and damage certain materials if not used correctly.
Always perform a thorough spot test in an inconspicuous area before applying it to a visible part of the shoe, and avoid using it on delicate materials like suede or untreated leather.
Step-by-Step Instructions
- Dampen a cotton ball or clean cloth with rubbing alcohol. Do not saturate it.
- Gently dab the stained area, being careful not to over-saturate. Work from the outside of the stain inward to prevent spreading.
- Use a dabbing or blotting motion to lift the stain. Avoid rubbing, which can push the stain deeper.
- Switch to a clean part of the cloth or a new cotton ball as it picks up ink or dirt. This ensures you’re lifting, not re-applying.
- Wipe the area with a clean, damp cloth afterward to remove any alcohol residue.
- Allow to air dry. The alcohol will evaporate quickly.
Specialized Care for Suede and Nubuck
Suede and nubuck are beautiful but delicate materials that require a gentle touch and specific tools.
Their characteristic soft, napped finish can easily be matted or damaged by water or harsh scrubbing.
The key is to work gently and focus on dry cleaning methods whenever possible.
A suede brush is an essential tool for these materials, helping to lift away dry dirt and restore the nap’s texture.
For tougher stains or water spots, a slightly damp cloth with a diluted solution or a specialized suede cleaner can be used, but always with extreme care.
The goal is to lift the dirt without saturating the material or damaging its velvety surface.
Step-by-Step Instructions
- Use a suede brush or a clean toothbrush to gently brush away dry dirt and restore the nap. Brush in one direction to lift debris and then in the opposite direction to fluff the nap.
- For tougher stains, lightly dampen a clean cloth with a 1:1 mixture of white vinegar and water, and gently blot the stain. Avoid soaking the area.
- Alternatively, use a dedicated suede cleaner following product instructions. These are formulated to be safe for suede and nubuck.
- Allow to air dry completely. Never use direct heat.
- Once dry, brush the suede again to restore its texture and appearance.
Cleaning Leather Shoes
Leather shoes, whether they’re polished dress shoes or casual boots, require a cleaning approach that preserves their natural oils and prevents them from drying out and cracking.
The goal is to clean effectively while also nourishing the material.
Gentle cleaning agents are paramount.
A mild soap solution or a specialized leather cleaner will remove dirt without stripping essential moisture.
Following up with a leather conditioner is crucial to replenish lost oils, keeping the leather supple, protected, and looking its best for years to come.
Always ensure leather shoes are completely dry before conditioning them.
Step-by-Step Instructions
- Wipe away surface dirt with a soft, damp cloth. This removes loose dust and debris.
- For tougher grime, use a mild soap (like the dish soap solution described earlier) on a damp cloth and gently clean the leather. Apply light pressure.
- Wipe away any soap residue with a clean, damp cloth. Ensure no soapy film remains.
- Allow the shoes to air dry away from direct heat. Stuffing them with paper can help absorb moisture and maintain shape.
- Once dry, apply a leather conditioner using a soft cloth to restore moisture and protect the leather. Buff gently after application.
Whitening Shoe Soles and Rubber Accents
The rubber or foam soles and accents on many shoes are prone to picking up scuffs, dirt, and discoloration, detracting from the overall look of the footwear.
Fortunately, these areas are often more robust and can handle slightly more intensive cleaning methods.
Targeted cleaning for these parts can make a significant difference.
The baking soda paste is excellent for this, but for truly stubborn scuffs on non-delicate rubber, a magic eraser can be surprisingly effective.
The aim is to lift the embedded dirt and scuff marks to restore that bright, clean appearance.
These methods are generally safe for most rubber and synthetic sole materials.
Save this post for later 📩
Not ready to read it all now? Send it to yourself and come back whenever you're ready.
Step-by-Step Instructions
- Use the baking soda paste or a magic eraser (for non-delicate rubber) on the soles and rubber accents. Dampen the magic eraser slightly if using one.
- Gently scrub with a brush or cloth. For magic erasers, use light to moderate pressure.
- Wipe clean with a damp cloth. Ensure all residue from the cleaning agent is removed.
- Air dry. The soles will look noticeably brighter after this treatment.
Tips for Drying and Deodorizing
Proper drying is as important as cleaning, as incorrect methods can damage your shoes.
Always prioritize air drying and avoid artificial heat sources, which can warp materials, crack adhesives, and cause leather to shrink.
Combating lingering odors is also a common concern.
Fortunately, there are simple and effective DIY methods to keep your shoes smelling fresh.
These tips will help maintain the structure and extend the lifespan of your footwear.
These practices are essential for the longevity and freshness of your shoes.
Step-by-Step Instructions
- Stuff shoes with plain white paper (not newspaper, as ink can transfer) or dry towels to absorb moisture and help maintain shape. Change the stuffing if it becomes saturated.
- Always air dry shoes away from direct heat sources like radiators, fireplaces, or hairdryers, as this can damage materials and cause them to deform.
- For deodorizing, sprinkle baking soda inside the shoes and let it sit overnight, then shake out thoroughly. This absorbs moisture and neutralizes odors.
- Alternatively, place dryer sheets or cedar shoe trees inside when not in use to absorb moisture and impart a fresh scent.
Conclusion
The satisfaction of breathing new life into your favorite pair of shoes with simple, homemade remedies is immense.
By understanding your shoe materials and employing these versatile DIY cleaning recipes, you can significantly extend their lifespan, save money, and maintain their aesthetic appeal without resorting to harsh chemicals.
We encourage you to experiment with these recipes and adapt them to your specific footwear needs.
Remember to always perform a patch test, especially when trying a new method or tackling a delicate material.
With a little effort and the right approach, you can keep your entire shoe collection looking pristine.
Embrace the power of your pantry and enjoy the rewarding feeling of revitalized footwear!.