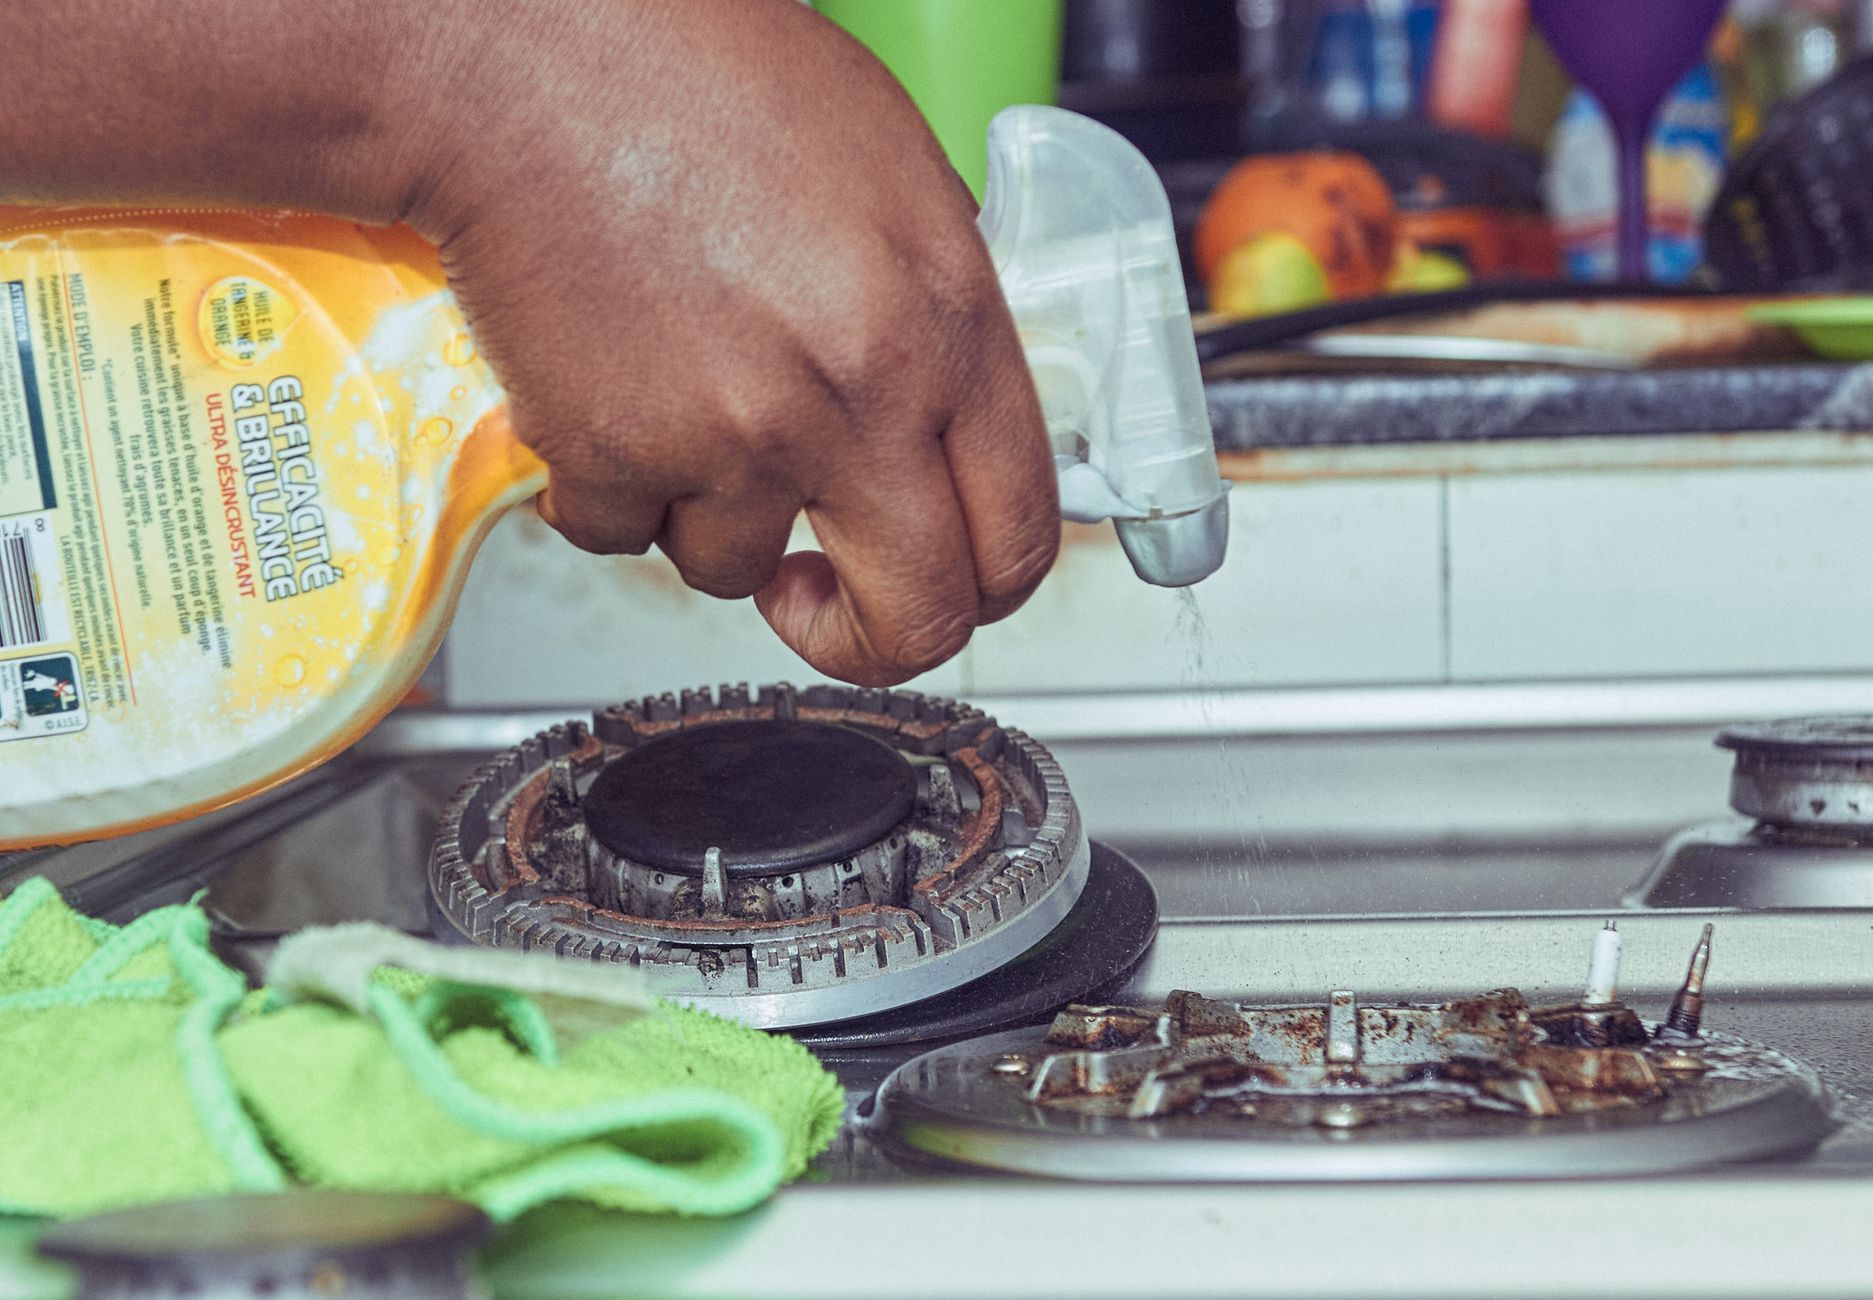
The kitchen is the heart of the home, and the stovetop is often the workhorse.
However, with that constant use comes the inevitable buildup of grease, food splatters, and stubborn burnt-on messes.
While powerful chemical cleaners promise a quick fix, many homeowners are increasingly seeking solutions that are not only effective but also safe for their families and the environment.
The good news is that you don’t need harsh chemicals to achieve a sparkling clean stovetop! Natural cleaning agents, readily available in most kitchens, offer a powerful, cost-effective, and non-toxic alternative.
In this post, we’ll explore a variety of natural methods to tackle even the toughest stove grime, leaving your kitchen looking and feeling healthier.
Table of Contents
Understanding Stove Grime and Natural Cleaning Principles
Stovetops are magnets for a variety of cooking mishaps.
The most common culprits include grease buildup from frying and sautéing, burnt food that unfortunately caramelizes onto the surface, and food splatters from boiling or simmering.
These can range from light, sticky residue to hard, charred deposits.
Traditional chemical cleaners often rely on strong solvents and abrasive agents that can irritate the skin, release harmful fumes into the air, and leave behind residues that might come into contact with food.
Save this post for later 📩
Not ready to read it all now? Send it to yourself and come back whenever you're ready.
In a space where meals are prepared, opting for safer alternatives is a wise choice for overall household health.
Fortunately, many common household ingredients possess remarkable cleaning properties.
These everyday staples can be transformed into potent natural cleaners, capable of tackling dirt and grime effectively.
Think of ingredients like baking soda, vinegar, and even lemons – all natural powerhouses!.
The effectiveness of these natural cleaners lies in simple scientific principles.
Baking soda’s mild alkalinity and fine particulate nature make it a gentle yet effective abrasive.
Vinegar’s acidity is a champion at cutting through grease and mineral deposits.
Dish soap, even a mild one, contains surfactants that break down oils and food particles.
And the citric acid in lemons provides both degreasing power and a refreshing scent.
Baking Soda Paste for Tough Stains
When faced with stubborn, burnt-on food or caked-on grease, baking soda is your secret weapon.
Its fine, granular texture acts as a mild abrasive, allowing it to gently lift and scrub away these tough messes without scratching your stovetop’s surface.
Beyond its scrubbing power, baking soda is also a fantastic deodorizer, neutralizing any lingering cooking odors.
This versatile cleaner is safe and effective on a variety of stovetop materials.
Whether you have a glass-ceramic cooktop, a stainless steel surface, or an enamel finish, baking soda paste can help restore its shine.
Step-by-Step Instructions
- Mix baking soda with a small amount of water in a bowl until you achieve a thick, spreadable paste. The consistency should be similar to toothpaste.
- Apply the baking soda paste generously to the stained or greasy areas of the stovetop. Ensure all problem spots are well-covered.
- Allow the paste to sit and work its magic for at least 15-30 minutes. For extremely stubborn or deeply burnt-on stains, you can leave it on for an hour or even overnight.
- Gently scrub the treated areas with a non-abrasive sponge, a soft cloth, or an old toothbrush. Use circular motions to lift the grime.
- Wipe clean with a damp cloth, ensuring all baking soda residue is removed. Follow up by drying the stovetop thoroughly with a clean, soft towel to prevent water spots.
Vinegar Solution for Degreasing and Shine
The acidic properties of white vinegar make it a powerhouse for tackling greasy residues and general grime.
Its ability to break down fats and oils is unparalleled among natural cleaners.
Not only does it clean effectively, but vinegar also has disinfecting qualities and helps to leave surfaces sparkling without streaks.
This makes it an excellent choice for maintaining the pristine look of your glass and stainless steel stovetops, cutting through fingerprints and cooking splatters with ease.
Step-by-Step Instructions
- In a clean spray bottle, combine equal parts of white vinegar and water. Shake well to mix.
- Spray the solution directly onto the stovetop surface. Focus on areas with visible grease or grime, allowing the vinegar solution to saturate the stains.
- Let the solution sit for a few minutes to give the vinegar time to break down the grease.
- Wipe the stovetop clean using a microfiber cloth. Microfiber is excellent at trapping dirt and leaving a streak-free finish.
- For any particularly stubborn spots that remain, dip a clean cloth into undiluted white vinegar and gently scrub the area. Then, wipe down the entire surface again with a damp cloth to rinse away any remaining vinegar and dry thoroughly.
Dish Soap as a Gentle Degreaser
It’s easy to overlook the simple power of mild liquid dish soap, but its primary function as a degreaser makes it an indispensable tool for everyday stovetop cleaning.
Dish soap is formulated to break down oils and lift food particles with remarkable efficiency.
Its mildness is key, making it a perfect choice for routine cleaning.
When used appropriately, it can effectively remove light grease and fresh spills without being too harsh on your stovetop’s finish.
Step-by-Step Instructions
- Add just a few drops of your favorite mild liquid dish soap to a bowl of warm water. You don’t need much – a little goes a long way.
- Dip a soft cloth or sponge into the soapy water, wringing out any excess so it’s not dripping.
- Wipe down the entire stovetop surface. Pay special attention to any recent spills or areas with light grease buildup.
- Rinse your cloth thoroughly with clean water and wipe the stovetop again to remove any soap residue. This step is crucial for preventing a dull film.
- Dry the stovetop completely with a clean, soft cloth to achieve a polished, streak-free finish.
Lemon for Grease and Fresh Scent
Beyond its delightful aroma, lemon is a natural powerhouse in the kitchen.
The citric acid naturally present in lemons is a fantastic grease-cutting agent, effectively breaking down stubborn greasy residues.
Plus, the scent it leaves behind is a refreshing change from chemical cleaners.
Lemons also boast natural disinfectant properties and can act as a mild brightener, helping to revive the shine of your stovetop.
Step-by-Step Instructions
Save this post for later 📩
Not ready to read it all now? Send it to yourself and come back whenever you're ready.
- Cut a fresh lemon in half. The acidity is most potent when the lemon is freshly cut.
- Rub the cut side of the lemon directly over the greasy stovetop surfaces. The juice will help to lift and dissolve the grease.
- For more challenging spots, you can sprinkle a bit of baking soda onto the cut side of the lemon before scrubbing. The combination of lemon’s acid and baking soda’s abrasive power is very effective.
- Wipe the stovetop clean with a damp cloth to remove any lemon juice or residue. Ensure you dry it thoroughly with a clean, soft cloth afterward.
Salt as a Gentle Abrasive
The humble kitchen staple, salt, can be surprisingly effective in the battle against stuck-on food.
Its granular nature provides a gentle abrasive quality that can help scrub away charred bits and tough residues without causing damage.
Salt works particularly well when combined with other natural cleaning agents like vinegar or lemon juice, creating a more potent cleaning paste.
However, it’s important to use caution on delicate surfaces, as excessive scrubbing with salt could potentially cause micro-scratches on certain finishes.
Step-by-Step Instructions
- Sprinkle coarse salt directly onto any greasy or burnt-on areas of the stovetop. Ensure the areas are dry for maximum effectiveness.
- Gently scrub the salted areas with a damp cloth or sponge. Use light, circular motions to lift the stuck-on food particles.
- Once the grime is loosened, wipe the stovetop clean with a damp cloth to remove the salt and debris. Dry the surface thoroughly with a soft towel.
Natural Cleaning for Specific Stovetop Types
Different stovetop materials require slightly different care to maintain their beauty and functionality.
Using the right natural cleaning methods ensures you get sparkling results without damage.
Glass-ceramic stovetops: These sleek surfaces require a gentle touch.
Always opt for non-abrasive cleaners and soft cloths or sponges.
Avoid using abrasive powders or harsh scrubbing pads, as they can lead to permanent scratches.
Stainless steel stovetops: To achieve a streak-free shine and prevent scratches, always clean with the grain of the stainless steel.
This means wiping in the direction the metal’s lines run.
A simple vinegar and water solution or a baking soda paste works wonders.
Enamel stovetops: While durable, enamel can chip or scratch if treated too aggressively.
Use gentle cleaning methods with mild soap and water or baking soda paste.
Avoid harsh chemicals or overly abrasive scrubbing that could compromise the enamel’s integrity.
Cleaning Stove Knobs and Grates Naturally
Don’t forget the often-neglected parts of your stove: the knobs and grates.
These can accumulate significant grease and food debris, requiring a dedicated cleaning effort.
Natural solutions are perfect for a thorough, deep clean of these components.
For knobs, a good soak in warm, soapy water or a vinegar-water solution can loosen grime.
Use a soft brush to gently scrub away any residue.
For grates, a more intensive approach might be needed.
Soaking them in hot water with dish soap and baking soda is highly effective.
A stiff brush can then tackle heavy buildup before a good rinse and thorough drying.
Save this post for later 📩
Not ready to read it all now? Send it to yourself and come back whenever you're ready.
Step-by-Step Instructions
- Carefully remove all knobs and grates from the stovetop. If the knobs are difficult to remove, consult your stove’s manual.
- For the knobs: Place them in a bowl and cover with warm water mixed with a few drops of mild dish soap, or use a solution of equal parts white vinegar and water. Let them soak for 15-30 minutes. Then, use a soft brush or an old toothbrush to gently scrub away any grime. Rinse thoroughly.
- For the grates: If they are heavily soiled, soak them in a sink or large basin filled with hot water, a generous amount of dish soap, and about half a cup of baking soda. Allow them to soak for at least an hour, or longer for very tough grime. Use a stiff brush (like a grill brush or a stiff-bristled scrub brush) to scrub away the loosened debris. Rinse them completely under running water.
- Before reattaching any knobs or grates, ensure they are completely dry. Any residual moisture can lead to rust or affect the stove’s function. You can air dry them or gently towel dry them.
Preventative Measures for a Cleaner Stove
The best way to keep your stove clean is to prevent excessive grime buildup in the first place.
Implementing a few simple habits can significantly reduce the time and effort needed for deep cleaning.
Wipe up spills immediately: As soon as a spill occurs, grab a cloth and wipe it away.
This prevents food from hardening and becoming difficult to remove.
Use splatter guards: When frying or cooking dishes that tend to splatter, use a splatter guard or a lid to contain the mess.
Regular light cleaning: A quick wipe-down of the stovetop after each cooking session, even if there are no visible spills, can keep grease from accumulating.
This might involve a quick spray of vinegar solution and a wipe with a cloth.
Conclusion
As we’ve seen, achieving a sparkling clean stovetop doesn’t require a cabinet full of harsh chemicals.
The ease and effectiveness of natural cleaning methods are undeniable, proving that you can tackle grease, grime, and burnt-on messes with simple, everyday ingredients.
We encourage you to embrace these safer alternatives.
Not only are they better for your health and the environment, but they are also incredibly budget-friendly.
By incorporating these natural cleaning techniques into your routine, you can enjoy a cleaner, healthier kitchen and the peace of mind that comes with using gentle, effective solutions.